
How To
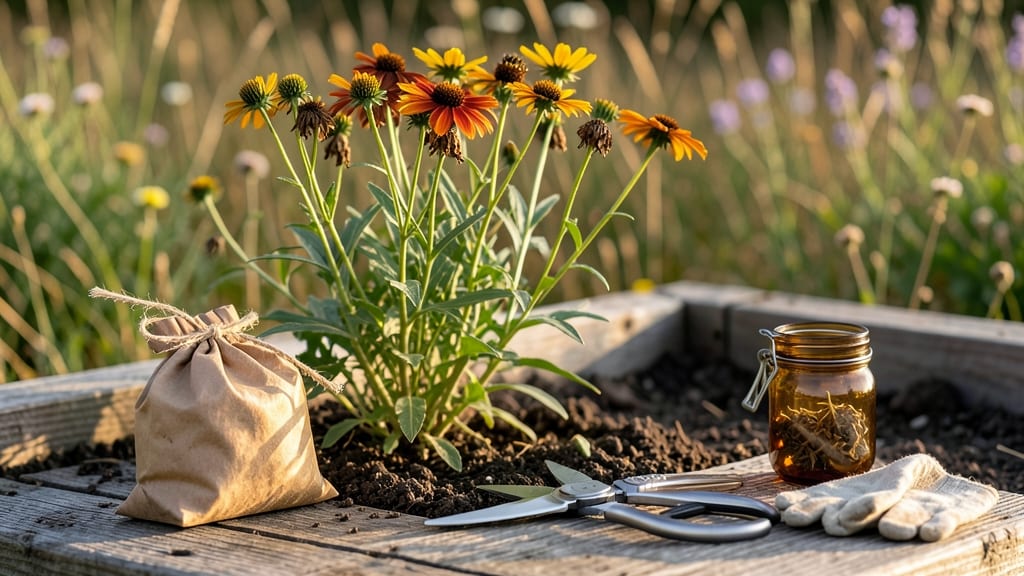
Harvesting Coreopsis seeds might seem tricky at first glance, but timing it right turns those fluffy seed heads into a gardener’s secret weapon.
If you’ve ever watched your Coreopsis 🌼 plants release seeds into the wind like tiny parachutes, you know how quickly they vanish—leaving you with nothing but empty stems.
The key to success lies in spotting the perfect moment when those dried flower heads are ready for collection. Unlike some plants, Coreopsis doesn’t give you much leeway—miss the window, and your seeds are history.
But when you nail it, you’re rewarded with a stash of seeds that’ll bring more of those cheerful blooms back to your garden next year.
In this guide, I’ll walk you through exactly when to harvest (hint: it’s not when the flowers are still fresh) and how to collect them without losing them to the breeze.
Whether you’re a seasoned gardener or just starting out, these tips will help you turn your Coreopsis into a self-sustaining plant powerhouse.
Ready to save seeds like a pro? Let’s dive into the easiest way to preserve your Coreopsis for future seasons—before the wind steals them away.

When and how to identify Coreopsis seed heads for harvesting
Harvesting Coreopsis seeds starts with spotting the right moment—when those fluffy seed heads are ready to release. The key is watching for color changes and texture shifts in the flower heads. If you miss this window, the wind will carry your seeds away before you can collect them.
First, focus on spent blooms that have already dropped their petals. These are your first clue that the plant is shifting from flowering to seed production. Look for brownish-green centers that begin to dry out, signaling the start of seed maturation.
Texture is your next indicator. When the seed heads feel dry and papery to the touch, they’re nearing readiness. Gently squeeze one—if it rattles with seeds inside, you’re in the perfect harvesting window. This usually happens 4-6 weeks after the initial bloom.
Timing matters most in late summer to early fall, typically August through September in most USDA zones 6-9. In cooler climates, wait until after the first frost to ensure seeds are fully matured. The goal is to harvest before the seed heads fully open and release seeds naturally.
Here’s how to spot ready-to-harvest seed heads at a glance:
If you harvest too early, seeds won’t be viable. If you wait too long, the seed heads may disperse seeds into the wind, leaving you with nothing. The ideal harvest window is when 70-80% of seeds are mature but the heads haven’t fully opened.
Pro tip: Harvest on a dry, windless day to prevent seeds from scattering mid-collection. Early morning is best—dew can make seed heads damp, which slows drying. Use sharp pruning shears to cut stems cleanly, leaving 1-2 inches of stem attached to each seed head.
Once you’ve identified the perfect seed heads, the next step is collecting them without losing a single seed to the breeze. I’ll cover the best methods in the next section—including how to use paper bags and drying techniques to maximize your yield.
When and how to identify Coreopsis seed heads for harvesting
Harvesting Coreopsis seeds starts with spotting the right seed heads at the perfect moment. These daisy-like flowers transform dramatically after blooming, signaling it’s time to act.
The critical window is when flower heads turn from vibrant colors to dry, brown structures—usually late summer to early fall in most USDA Zone 6a regions.
Watch for petals dropping naturally, leaving behind a papery seed head. This is your first clue that seeds are maturing inside. The texture changes from soft to crispy-dry, almost like a brown paper bag.
If you shake a head and hear seeds rattle loudly, that’s your green light—they’re ready for collection.
Here’s how to spot ready-to-harvest Coreopsis seed heads in just 3 simple steps:
- 🔍 Step 1: Look for brown, papery flower heads where petals have fallen.
- 👂 Step 2: Give a gentle shake—if seeds rattle loudly, they’re mature.
- 👆 Step 3: Pinch a seed head—if seeds pop out easily, harvest immediately.
Timing is everything—wait too long, and a breeze will scatter those seeds faster than you can say "garden cleanup." I’ve lost entire batches to wind dispersal, so act fast once you spot these signs.
The ideal harvest time is on a dry, calm morning when humidity is low, reducing the risk of mold.
Pro tip: Mark plants as they mature by tying a twist tie or ribbon around stems. This helps you track which seed heads are ready without missing any. I use colored ribbon to distinguish between early and late bloomers in my garden—it’s a lifesaver for large patches!
If you’re unsure whether a seed head is ready, check for these 3 key indicators: - Brown and crispy (not green or soft) - Seeds rattle when shaken - Petals are gone entirely If even one doesn’t match, wait 3-5 days and check again.
Once you’ve mastered spotting ready seed heads, the next step is collecting them efficiently—but that’s a whole other skill. For now, keep an eye out for those brown, papery heads, and you’ll be well on your way to a seed-saving success! 🌱