
Pruning
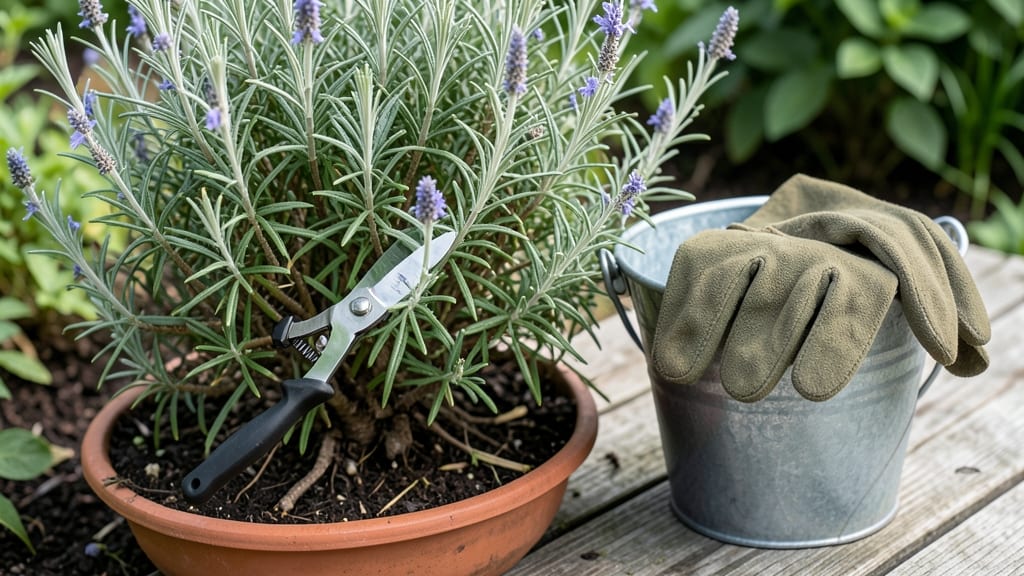
Cutting back salvias after flowering isn’t just tidying up—it’s the secret to next year’s showstopping blooms. 🌿 I’ve learned the hard way that skipping this step turns lush perennials into woody sticks. The right timing and technique make all the difference between a vibrant return and a sad, leggy plant.
You’ll need sharp pruners (clean and sharp is non-negotiable) and a clear plan: cut back one-third to half of the plant’s height, right above a leaf node. Do this after the first frost in fall for hardy varieties like Salvia nemorosa, or right after flowering for tender types.
The goal? Encourage fresh, non-woody growth from the base.
What you’ll end up with is a plant that bursts with new shoots by spring, often blooming earlier and more prolifically than before. The stems stay flexible, not brittle, and you avoid that sad, overgrown look. Even my most stubborn salvias bounce back beautifully with this method.
Works for both perennial and shrub salvias, and the same principles apply whether you’re pruning in containers or garden beds. Just remember: patience pays off—give the plant a few weeks to recover before expecting next season’s glory.
📚 In This Guide
- What you need
- Instructions
- Tips and common mistakes
- Wrapping up and next steps
What you need
- ● Pruning shears or secateurs – Sharp, clean, and sterilized (bypass pruners work best for clean cuts). Avoid dull blades—they crush stems and invite disease.
- ● Gloves – Garden or work gloves (to protect hands from thorns or rough stems).
- ● Disinfectant (70% isopropyl alcohol or bleach solution) – 1 part bleach to 9 parts water (to sterilize tools between cuts).
- ○ Garden twine or plant ties (optional but helpful) – For securing large or leggy stems post-pruning.
- ● Compost or mulch – To enrich soil after pruning (1–2 inches).
- ● Watering can or hose with a gentle spray nozzle – For post-pruning hydration.
- ● Hand pruners (smaller than shears) – For tight spaces or delicate salvias like Salvia microphylla.
- ● Loppers – If dealing with very thick stems (e.g., Salvia nemorosa or Salvia officinalis).
- ● Plant food or fertilizer – Balanced 10-10-10 or slow-release granules (to boost regrowth).
- ● Rake or hoe – To clear debris and refresh mulch around the base.
Step-by-Step instructions for cutting back salvias after flowering
Here’s the method I’ve used for years to keep my salvias thriving—it’s simple, but timing and technique make all the difference.
✂️ Step 1: Wait for the Right Time to Prune
Never cut back salvias immediately after flowering—this is the biggest mistake gardeners make. Instead, wait until late summer or early fall, after the first frost has killed the current season’s growth or when new growth begins to sprout at the base. This ensures the plant has stored enough energy in its roots for next year’s blooms.
If you prune too early, you’ll remove the plant’s energy reserves before they’ve had a chance to replenish. Look for brown, crispy flower spikes and new shoots emerging from the base—that’s your cue. For tender perennials like Salvia leucantha, wait until after the first frost when foliage turns yellow or brown.
✂️ Step 2: Cut Back Dead and Damaged Growth
Use clean, sharp pruners to remove dead flower spikes, brown stems, and any diseased or damaged foliage. Start by snipping off the woody, spent flower stalks at their base, cutting back to just above a leaf node or set of healthy leaves. This prevents unsightly stubs and encourages new growth from the right place.
For salvias with woody stems, like Salvia greggii, you can cut back one-third of the oldest stems to promote fresh, vigorous growth. Avoid cutting into the thick, woody center—this is where next year’s blooms will emerge. If you see blackened or mushy stems, cut those out completely to prevent rot from spreading.
✂️ Step 3: Thin Out Crowded Foliage for Airflow
Salvias need good airflow to prevent fungal diseases like powdery mildew. Use your pruners to remove any overcrowded or crossing branches that block light and air circulation. Focus on the outer edges of the plant, where growth is often dense. Cut back one-third of the oldest stems to open up the center and encourage a bushier shape.
If your salvia has become leggy or top-heavy, trim the tips of the longest stems to encourage branching. This is especially useful for Salvia nemorosa, which can get woody over time. Step back occasionally to check your progress—you want a balanced, open shape that allows sunlight to reach the center.
✂️ Step 4: Lightly Shape for Next Season’s Growth
Once you’ve removed dead and damaged growth, give the plant a light overall trim to encourage a neat, compact form. For upright salvias, like Salvia officinalis, cut back one-third of the tallest stems to maintain height while promoting bushiness. For mounding types, like Salvia microphylla, trim just enough to open up the center without over-thinning.
Here’s the thing—don’t over-prune. Salvias are resilient, but cutting back too aggressively can weaken the plant before winter. A light shaping is all you need at this stage. If you’re unsure, err on the side of caution and leave more growth—you can always trim more next spring if needed.
💧 Step 5: Water and Fertilize for Recovery
After pruning, water deeply to help the plant recover and establish new roots. Focus on soaking the soil rather than surface watering—this encourages deep root growth. Avoid getting water on the freshly cut stems, as this can increase the risk of disease. Water in the early morning so foliage has time to dry before evening.
Apply a balanced, slow-release fertilizer (like a 10-10-10) to provide nutrients for new growth. I like to use half the recommended dose in early fall to avoid encouraging tender, late-season growth that won’t survive frost. If your salvia is in poor soil, consider adding a layer of compost around the base to boost nutrients naturally.
Tips & tricks for perfectly reviving salvias after flowering
Timing and technique are everything when it comes to pruning salvias—here's how to avoid common mistakes that can weaken your plants.
Timing is Everything: The late summer to early fall window is critical because it allows your salvias to store energy in their roots for next year's blooms. I've learned this the hard way—pruning too early after flowering removes those precious reserves before they've had a chance to replenish. For tender perennials like Salvia leucantha, wait until after the first frost when foliage turns yellow or brown. This visual cue tells you the plant is ready to enter dormancy and can handle the pruning.
Tool Preparation Matters: Before you start cutting, make sure your pruners are clean and sharp. Dull blades can crush stems instead of making clean cuts, which increases the risk of disease. I always wipe down my pruners with rubbing alcohol between plants to prevent spreading any potential pathogens. For particularly woody stems, I use a small pruning saw for clean cuts without tearing the plant tissue.
Visual Cues for Pruning: When cutting back dead flower spikes in Step 2, look for the first set of healthy leaves below the spent blooms—this is where you want to make your cut. For woody stems like Salvia greggii, you can remove up to one-third of the oldest stems to encourage fresh growth, but never cut into the thick, woody center where next year's blooms will emerge. I think this works because it balances the plant's energy between maintaining its structure and producing new growth.
Post-Pruning Care: After you've finished shaping, give your salvias a deep watering to help them recover. Focus on soaking the soil rather than surface watering, which encourages deep root growth. I've found that watering in the early morning gives foliage time to dry completely before evening, reducing the risk of fungal diseases. The half-strength fertilizer application mentioned in Step 5 is particularly important—it provides nutrients without encouraging tender new growth that won't survive winter.
Pro Tips for Cut Back Salvias After Flowering
- Timing and technique are everything when it comes to pruning salvias—here's how to avoid common mistakes that can weaken your plants.
- Timing is Everything: The late summer to early fall window is critical because it allows your salvias to store energy in their roots for next year's blooms.
- Tool Preparation Matters: Before you start cutting, make sure your pruners are clean and sharp.
Frequently asked questions
Got questions about pruning salvias after they’ve finished blooming? You’re not alone! Here are answers to the most common concerns—so you can keep your plants thriving without the guesswork.
When is the exact best time to cut back salvias?
Prune salvias right after flowering (late spring to early summer) to encourage new growth. Avoid cutting too early—wait until the blooms fade and seed pods form. For woody salvias (like Salvia nemorosa), prune in late winter or early spring to shape the plant before new shoots emerge.
Should I cut back salvias all the way to the ground?
No! Cut back perennial salvias (like Salvia officinalis or Salvia greggii) to 3–6 inches above the soil to leave room for regrowth. For woody types (e.g., Salvia leucantha), trim 1/3 of the height to maintain structure. Over-pruning can stress the plant.
What if my salvia doesn’t rebloom after pruning?
Reblooming depends on the variety! Annual salvias (like Salvia splendens) won’t return—replace them yearly. Perennial salvias may need 3–4 weeks of warm weather to recover. If growth stalls, check for pests, disease, or poor drainage.
Can I prune salvias in hot or cold weather?
Wait for mild temperatures (50–75°F). Pruning in heatwaves stresses plants, while frost can damage new growth. Early morning or late afternoon is ideal—avoid midday sun. If you must prune in heat, water deeply before and after.
Is there a way to encourage more blooms next year?
Yes! Deadhead spent flowers regularly to redirect energy to new blooms. Use balanced fertilizer (10-10-10) in early spring, and ensure 6+ hours of sun. For salvias like Salvia ‘May Night’, a light pruning mid-season can trigger a second flush of flowers!
| Quick Fix | Problem |
|---|---|
| Trim to 3–6" above soil | Over-pruned salvia |
| Wait for mild weather | Pruned in extreme heat/cold |
| Check for pests/disease | No reblooming |
Wrapping up and next steps
Cutting back salvias after flowering isn’t just about tidying up—it’s your secret to vibrant, repeat blooms and healthier plants next season! 🌿 With the right timing, tools, and technique, you’ll encourage fresh growth while keeping pests at bay.
Remember: patience and precision are key, but the rewards—longer flowering seasons and lush foliage—are worth every snip.
Ready to give your salvias the care they deserve? Grab your pruners, mark your calendar for late spring or early summer, and get pruning! Your garden (and future blooms) will thank you.