
Size
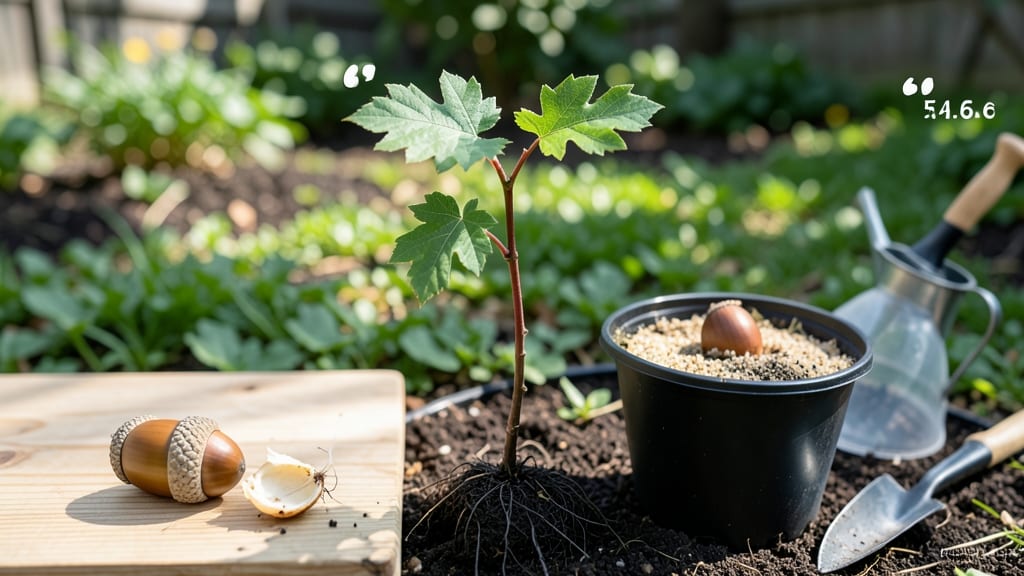
How to get an acorn to grow—it starts with that tiny seed and the belief that it could one day become a towering 100-foot oak. I’ve watched my own acorn saplings push through soil after months of waiting, and the patience pays off with a tree that’ll outlive me. The secret isn’t magic; it’s understanding what acorns need before they’ll even think about sprouting.
First, you’ll need fresh acorns—preferably from a healthy oak tree—and a way to break their dormancy. Most acorns need 90 days of cold, moist treatment (called stratification) to mimic winter, but not all acorns are created equal.
Some, like white oaks, germinate faster than red oaks, so timing matters. After that, it’s all about soil, light, and a little luck.
By spring, you’ll see tiny roots and a shoot breaking through—if you’ve done everything right. The first few years are slow, but with proper care (and a lot of it), you’ll watch that sapling grow into a sturdy, shade-loving giant.
The hardest part? Waiting. The most rewarding part? Knowing you grew it yourself.
This method works for backyard growers, classrooms, or anyone who wants a piece of nature’s legacy. Let’s get those acorns sprouting—your future shade tree is counting on you.
📚 In This Guide
- What you need
- Instructions
- Tips and common mistakes
- Wrapping up and next steps
What you need
- ● Fresh acorns: 3–5 healthy, plump acorns (preferably from white oak or red oak species). Pro tip: 🌡️ Avoid acorns with holes or mold—these won’t sprout!
- ● Water: Room-temperature or slightly warm water (enough to cover acorns during soaking).
- ● Container: A shallow dish (like a pie tin or plastic container) for soaking, or small pots (3–4 inches deep) for planting.
- ● Potting mix: A well-draining, seed-starting mix (or a blend of 50% peat moss and 50% perlite for DIYers).
- ● Plastic wrap or dome: To create a humid environment (e.g., a ziplock bag with holes or a clear lid).
- ● Spray bottle: For gentle watering to keep the soil moist.
- ○ Scissors or knife: To trim acorn caps (optional, for faster germination).
- ● Label or marker: To track planting dates (trust us, this helps!).
- ● Grow lights or a sunny windowsill (if natural light is limited).
- ● Fertilizer (balanced, water-soluble, diluted to half-strength).
- ● Heat mat (to speed up germination in cooler climates).
- ● Notebook (to log growth progress—so satisfying!).
Tips & tricks for germinating acorns into oak saplings
Here's what nobody tells you about turning acorns into thriving oak trees—these tricks make all the difference between success and disappointment.
Selection Tip: When choosing acorns in Step 1, tap two together—if they sound hollow, discard them. A solid, meaty thud means a healthy seed inside. I've learned this the hard way after wasting time on empty acorns that never sprouted. Also, store your selected acorns in a paper bag in the fridge (not airtight) to maintain humidity without encouraging mold.
Stratification Strategy: The 90-120 day cold treatment in Step 2 is non-negotiable, but here's the secret: place a small dish of water under your container to maintain consistent moisture without overwatering. Check weekly and adjust the sand/peat mix if it feels dry at the top. If you're impatient, you can speed up the process slightly by using a seed stratification mat set to 40°F instead of relying solely on your fridge.
Planting Technique: In Step 3, when planting your acorn on its side, make sure the pointed end faces upward—this is where the root will emerge. I use a toothpick to gently mark the orientation before covering with soil. For capless acorns, place them horizontally with the flat side down to encourage straight upward growth. Use a small stick to create a drainage channel in the soil to prevent waterlogging.
Germination Watch: The 4-12 week germination window in Step 3 can feel like an eternity, but here's how to tell if it's working: gently tug on the soil surface with your fingers—if you feel slight resistance (like a tiny root), your acorn is waking up. If nothing happens after 12 weeks, your acorn may not have survived stratification. Don't give up—try with fresh acorns and a new batch of sand/peat mix.
Pro Tips for Get An Acorn To Grow
- Here's what nobody tells you about turning acorns into thriving oak trees—these tricks make all the difference betwee...
- Selection Tip: When choosing acorns in Step 1, tap two together—if they sound hollow, discard them. A solid, meaty th...
- Stratification Strategy: The 90-120 day cold treatment in Step 2 is non-negotiable, but here's the secret: place a sm...
Frequently asked questions
Got questions about growing an acorn into a mighty oak? You’re not alone! Here are some of the most common concerns—plus straightforward answers to help you succeed.
How long does it take for an acorn to sprout?
Patience is key! Acorns typically sprout in 4 to 8 weeks under ideal conditions (warmth, moisture, and proper stratification). Some may take longer, especially if the acorn is older or stored improperly. Keep the soil consistently moist and check weekly for tiny green shoots.
Do I need to refrigerate the acorn before planting?
Yes! Acorns require stratification—a cold period to break dormancy. Place them in a damp paper towel or peat moss in a sealed bag in the fridge for 6 to 12 weeks before planting. This mimics winter conditions and boosts germination rates dramatically.
Can I grow an acorn indoors?
Start indoors in a small pot with well-draining soil, keeping it in a warm, sunny spot (or under grow lights). Once the sapling is 6–12 inches tall, transplant it outdoors in spring. Use a humidity dome or mist regularly to prevent drying out.
What if my acorn rots or molds?
Overwatering or poor drainage are the usual culprits. If you see mold or a foul smell, discard the acorn and try again with a fresh one. Use a pot with drainage holes and water only when the top inch of soil feels dry. Sterilize tools and containers to prevent contamination.
How do I know if my acorn is viable?
Test viability by floating the acorn in water: if it sinks, it’s likely good! Also, check for a firm, plump shape and minimal cracks. Avoid shriveled or hollow acorns—they won’t sprout. Healthy acorns should feel heavy for their size.
Wrapping up and next steps
Growing an acorn into a mighty oak is a rewarding journey that blends patience, care, and a little bit of nature’s magic! 🌱 By following the steps—from selecting the right acorn to nurturing your sapling—you’re not just growing a plant; you’re fostering a future shade provider, wildlife haven, or even a historic tree. Remember, every expert gardener started with a single seed!
Now that you’re armed with knowledge, take the next step: gather your supplies, pick that perfect acorn, and let the adventure begin. Whether you’re planting for your backyard or a larger project, your green thumb is about to get even greener. Happy growing! 🌳✨