
How To
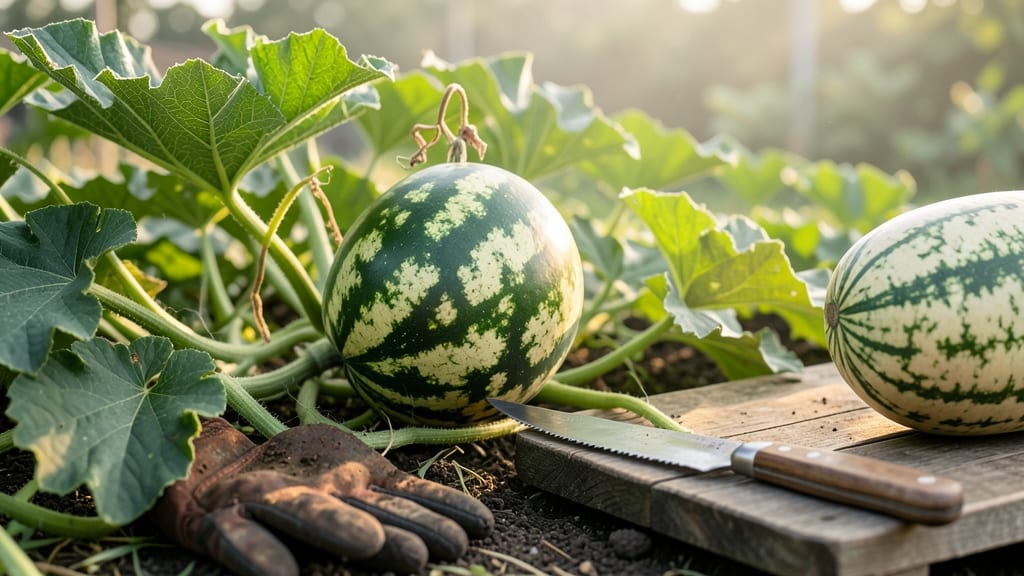
3 Key visual signs your watermelon is ripe and ready
Watermelons are tricky—they don’t ripen further after harvest, so timing matters. I’ve learned that three visual cues guarantee peak sweetness without cutting open the fruit. First, check the field spot, the creamy yellow patch where the melon rested on the soil.
When it turns fully yellow or orange, that’s your first green light.
Next, examine the stem near the fruit. A ripe watermelon’s stem will dry out and turn brown or tan. If it’s still green or moist, wait a few days. This simple check saves you from harvesting too soon or too late.
Finally, look at the tendril closest to the fruit. When this tendril dries up and turns brown, it’s a classic sign of ripeness. I’ve seen gardeners miss this clue and end up with underripe melons—don’t let that happen to you!
🌱 3 Visual Cues for Perfectly Ripe Watermelons
- 🟡 Field Spot: Creamy yellow/orange where melon touched soil
- 💀 Stem: Dry, brown, and detached from vine
- 🪴 Tendril: Nearest vine tendril turns brown and crispy
Pro tip: Combine these signs with the thump test (we’ll cover that next). I’ve harvested melons based on just one cue before—like the field spot—and regretted it when the flesh was still pale and watery.
Watermelon varieties also play a role. Heirloom types like Sugar Baby often ripen faster (around 70 days), while hybrids like Crimson Sweet may take 80-90 days. Always check your seed packet for variety-specific timelines.
Environment matters too. In hot, dry climates, melons ripen quicker. If you’re in a cooler zone (like Zone 6), they might need extra days on the vine. I once grew watermelons in my backyard and had to wait until late August—patience pays off!
One mistake I’ve seen is ignoring the overall color. A ripe watermelon’s rind should be solid green with no streaks (except for the field spot). If it’s patchy or dull, it’s not ready yet. Bright, uniform color = sweetness.
Don’t forget to rotate your melons while they grow. This prevents uneven ripening and ensures the field spot develops properly. I use a small board under each fruit to protect it from dirt and encourage even coloring.
Finally, trust your touch. A ripe watermelon feels heavy for its size and separates easily from the vine when you gently twist it. If it doesn’t budge, it’s not ready—no amount of waiting will make it sweeter once picked.
How to test watermelon ripeness without cutting it open
Don’t guess whether your watermelon is ripe—use these tactile and acoustic tests that professional growers swear by. The thump test, stem resistance check, and weight assessment reveal peak sweetness without damaging the fruit. These methods work even for heirloom varieties with thick rinds.
First, thump the watermelon firmly with your knuckle near the blossom end (the flat side where it attached to the vine). A hollow, deep sound means it’s ripe, while a dull thud signals underripeness. This works best on fully colored melons—green ones won’t give accurate results.
Pro Tip: Test in the morning when temps are cooler. Heat can make melons feel firmer and sound hollower than they actually are. If you’re unsure, wait 24 hours and retest—overripe melons won’t recover their sweetness.
Next, gently twist the stem near the fruit. If it’s dry, brown, and detaches easily, your watermelon is prime for harvest. A green or moist stem means it needs more time. This trick works best on mature melons—small ones won’t have developed this trait yet.
Finally, lift the watermelon—ripe ones feel heavy for their size because they’re packed with juice. An underripe melon will feel light and hollow, while an overripe one may feel soft or spongy. Combine all three tests for 90% accuracy without cutting open a single fruit.
For container-grown watermelons, these tests still apply, but check for ripeness 1-2 weeks earlier than vine varieties—they mature faster due to limited root space. Always harvest on a dry morning to avoid soil contamination and let melons cure in a shady, dry spot for 3-5 days before eating.