
Landscaping
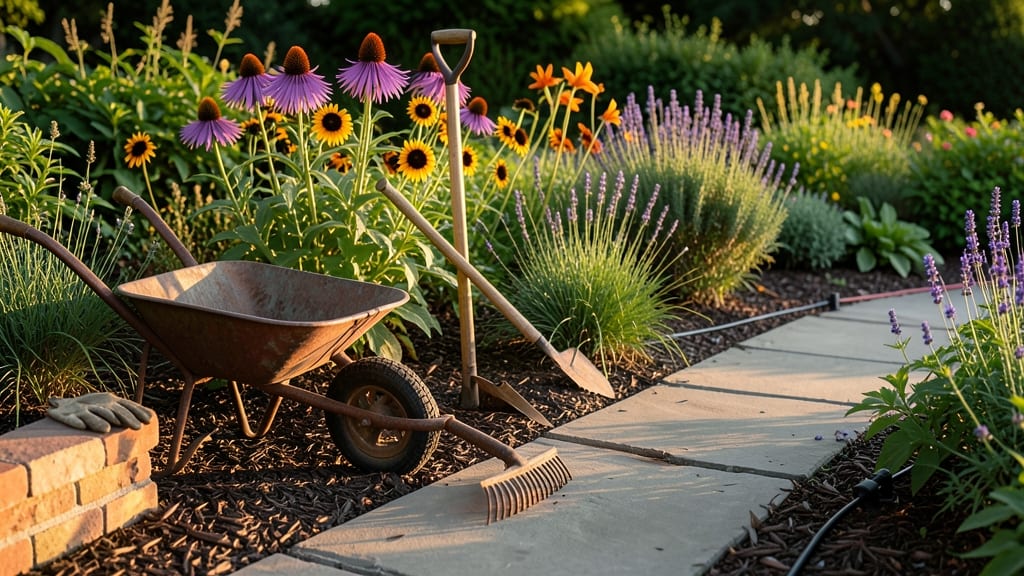
Landscaping a flower garden isn’t just about pretty blooms—it’s about creating a living canvas that changes with every season. 🌸 I’ve designed gardens that stay vibrant from spring’s first tulips through winter’s last berries, and the secret starts with layered planting that works with your climate, not against it.
The foundation? Good soil and a clear layout. Skip the expensive overhaul—focus on amending your existing soil with compost and choosing plants that thrive where they’re planted. A simple path or two frames the space beautifully, while focal points (like a trellis or sculpture) draw the eye to key areas.
Even small gardens can feel grand with the right proportions. By the end, you’ll have a garden that looks intentional, not accidental—one that blooms when others fade. The best part? Low-maintenance perennials handle the heavy lifting once established, leaving you with color without the constant upkeep.
This works for any style—cottage gardens, modern borders, or wildflower meadows. Let’s turn that blank space into something you’ll love all year.
📚 In This Guide
- What you need
- Instructions
- Tips and common mistakes
- Wrapping up and next steps
What you need
- ● Soil & Amendments: Topsoil (2–4 cubic yards, depending on garden size)
- ● Compost (1–2 bags or a wheelbarrow full)
- ● Organic mulch (shredded bark or straw, 2–3 bags)
- ● Plants: Perennials (5–10 plants, depending on design)
- ● Annuals (10–20 plants for seasonal color)
- ○ Shrubs or small trees (optional, 1–3 for structure)
- ● Tools: Garden shovel or spade
- ● Garden trowel (for precise planting)
- ● Pruners (bypass or anvil type)
- ● Wheelbarrow (for hauling soil and mulch)
- ● Measuring tape (25–50 ft)
- ● Garden hose with spray nozzle
- ● Safety & Utility: Work gloves (heavy-duty for protection)
- ● Knee pads (for comfort during long sessions)
- ● Sun hat or gardening cap
- ○ Watering can (optional, for delicate plants)
- ● Garden stakes or labels (for plant identification)
- ● Edging tools (to define garden borders)
- ● Garden kneeler pad (for extra comfort)
- ● String or spray paint (for layout planning)
- ● Slow-release fertilizer (for nutrient boost)
- ● Decorative stones or stepping stones (for pathways)
Step-by-Step instructions for designing a layered flower garden
Here’s my go-to approach for creating a garden that blooms from spring through fall—no boring gaps or seasonal letdowns.
🌿 Step 1: Define Your Garden’s Backbone
Start by sketching your space on paper, marking the sunniest spots for full-sun plants and shadier areas for partial-shade varieties. I divide my garden into three zones: foreground (tallest plants), mid-ground (medium height), and background (shortest). This creates depth and hides the soil edge.
Measure your garden’s dimensions and note any existing structures like fences or trees. If you’re working with a 4-foot-wide bed, plan for 3-foot-tall plants in the back, 2-foot plants in the middle, and 6-12-inch plants at the front. This ensures no one plant blocks another’s sunlight or steals its stage.
☀️ Step 2: Plan for Seasonal Color Waves
Layer plants so that as one variety fades, another takes over. I like to start with spring bulbs (daffodils, tulips) in the back, followed by mid-summer perennials (coneflowers, black-eyed Susans) in the middle, and late-season bloomers (mums, asters) in the front. This keeps your garden vibrant without dead zones.
Write down each plant’s bloom time and height. For example, a 3-foot-tall peony will bloom in early summer, so I pair it with 18-inch-tall salvia that blooms later. This way, when the peony’s petals drop, the salvia picks up the show. Don’t forget to include foliage plants like hostas or heucheras—they add texture and fill gaps between blooms.
🪴 Step 3: Prepare the Soil and Plant
Loosen the soil to a depth of 12 inches using a garden fork or tiller. Mix in 2-3 inches of compost to improve drainage and fertility. If your soil is heavy clay, work in 1 part sand for every 3 parts soil to help roots spread easily.
Dig holes twice as wide as the root ball but only as deep as the top of the root system. Place each plant in its hole, firm the soil around the roots, and water deeply to settle everything. Step back and check your layers—you should see a gradual slope from back to front, with no plants blocking sunlight for others.
✂️ Step 4: Add Finishing Touches for Structure
Once plants are in the ground, add mulch to retain moisture and suppress weeds. I use 2-3 inches of shredded bark mulch, keeping it 2 inches away from plant stems to avoid rot. This also gives your garden a polished look while protecting roots from temperature swings.
Consider adding a few evergreen shrubs or ornamental grasses at the edges to frame the garden. These provide year-round structure and contrast beautifully with seasonal blooms. For example, a 3-foot-tall boxwood on each end of a 4-foot-wide bed adds symmetry and keeps the garden looking intentional.
⏰ Step 5: Maintain for Long-Term Beauty
Water deeply once a week (or more in extreme heat) to encourage deep root growth. I check soil moisture by sticking my finger 2 inches down—if it’s dry, it’s time to water. Avoid overhead watering to prevent fungal diseases like powdery mildew.
Deadhead spent blooms regularly to encourage more flowers and prevent self-seeding weeds. In late fall, cut back perennials to 6 inches above the ground, leaving any ornamental grasses or seed heads for winter interest. This keeps your garden tidy while supporting pollinators.
Tips & tricks for perfect season-long flower garden landscaping
Creating a garden that thrives year-round takes a few key tricks—here's what I've learned after designing more than a dozen layered flower beds.
Depth Planning: When sketching your garden layout in Step 1, use colored pencils or markers to represent each plant's height and bloom time. This visual helps you spot potential sunlight conflicts before you dig. I like to tape my sketch to the garden fence as a reference while planting—it keeps me from accidentally placing a 3-foot-tall peony where a 6-inch salvia should go.
Seasonal Transition Strategy: In Step 2, when pairing plants, look for varieties with staggered bloom times that overlap by at least 2 weeks. For example, pair early spring crocuses (which bloom in March) with late spring hyacinths (April blooms). This creates a seamless color transition when one variety fades. I keep a simple chart of bloom dates for all my plants to reference during planning.
Soil Prep Shortcut: For Step 3, if you're working with heavy clay soil, mix in 1 part coconut coir instead of sand for better moisture retention while still improving drainage. Coconut coir also adds organic matter that breaks down over time, enriching your soil naturally. Just be sure to mix it thoroughly with the top 12 inches of soil as directed.
Mulch Placement Tip: When adding your 2-3 inches of shredded bark mulch in Step 4, create a slight mound around each plant stem to help direct water toward the roots. This prevents water from pooling away from the plant during irrigation. I also like to leave a 1-inch border of bare soil around the garden edges to define the planting area neatly.
Pro Tips for Landscape A Flower Garden
- Creating a garden that thrives year-round takes a few key tricks—here's what I've learned after designing more than a...
- Depth Planning: When sketching your garden layout in Step 1, use colored pencils or markers to represent each plant's...
- Seasonal Transition Strategy: In Step 2, when pairing plants, look for varieties with staggered bloom times that over...
Frequently asked questions
Got questions about transforming your outdoor space into a vibrant flower garden? Here are some of the most common queries—and their straightforward answers—to help you get started with confidence!
What’s the best time of year to start landscaping a flower garden?
The ideal time depends on your climate! In mild regions, spring or early fall is perfect for planting perennials and annuals. In colder areas, wait until after the last frost (late spring) to avoid frost damage. For bulbs, plant in fall—they’ll thank you with early spring blooms!
How often should I water my new flower garden?
Newly planted flowers need deep watering 1-2 times per week (more in extreme heat). Once established, most flowers prefer 1 inch of water per week, either from rain or irrigation. Morning watering is best—it reduces evaporation and fungal risks. Mulch helps retain moisture!
Can I mix perennials and annuals in the same garden?
Perennials (like coneflowers or hostas) provide structure and long-term color, while annuals (like marigolds or petunias) add seasonal pops of brightness. Plant perennials in background layers and annuals in foreground or containers for easy swaps. Just match their sunlight and soil needs!
How do I keep pests and weeds from ruining my flower garden?
Prevention is key! Use organic mulch (like wood chips) to smother weeds, and hand-pull them regularly. For pests, try neem oil or companion planting (e.g., marigolds deter aphids). Healthy soil = stronger plants that resist pests naturally.
What are some low-maintenance flower options for beginners?
Start with resilient, drought-tolerant picks like lavender, black-eyed Susans, or daylilies. Succulents (e.g., sedum) and ornamental grasses also thrive with minimal fuss. Group plants with similar care needs to simplify upkeep—your future self will thank you!
What should I do if my flowers aren’t blooming?
Bloom struggles often stem from light, nutrients, or over-pruning. Check if your plants get 6+ hours of sunlight daily. Feed with balanced fertilizer in spring, and avoid cutting back deadheading (remove spent blooms) to encourage more flowers. If soil is poor, amend with compost!
Wrapping up and next steps
Transforming your space into a vibrant, year-round flower garden is all about planning, patience, and passion! 🌸 By layering plants for height, color, and seasonal bloom cycles, you’ve set the stage for a garden that thrives in every season—from spring’s delicate blooms to autumn’s bold hues.
Remember, the key is to start small, observe what works, and let your garden evolve naturally.
Now that you’re armed with the know-how, roll up your sleeves and get planting! Grab your tools, sketch your design, and watch your vision bloom into a stunning outdoor sanctuary. Happy gardening! 🌿