
Fertilization
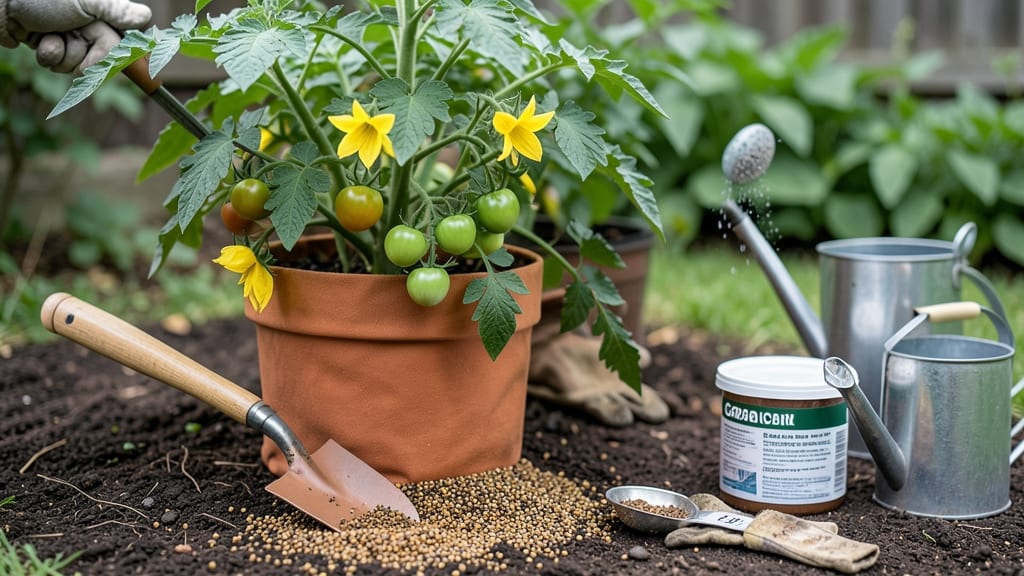
Adding fertilizer to plants feels like giving them a vitamin shot. 🌱 The right approach transforms struggling plants into thriving powerhouses—without burning roots or overwhelming them. I’ve learned the hard way which methods work (and which don’t), so you can skip the guesswork.
You’ll need fertilizer (organic like compost or synthetic granules), gloves, water, and a measuring tool. The key is matching the fertilizer type to your plant’s needs—leafy greens crave nitrogen, while bloomers need phosphorus. Timing matters too: feed young plants lightly, established ones more generously, and always water before and after.
By the end, your plants will show it—darker green leaves, stronger stems, and better blooms. The process takes just 10-15 minutes, but the results last all season. Even my black thumb’s plants look shockingly lush after a proper feeding.
Works for containers, in-ground beds, and houseplants alike. Here’s how to do it right the first time—no more over-fertilizing or sad, wilted leaves. Let’s get growing!
📚 In This Guide
- What you need
- Instructions
- Tips and common mistakes
- Wrapping up and next steps
What you need
- ● Fertilizer: Choose one based on your plant type—organic (compost, worm castings, fish emulsion) or synthetic (granular, liquid, or slow-release). Pro tip: Check the NPK (Nitrogen-Phosphorus-Potassium) ratio to match your plant’s needs!
- ● Measuring tools: Measuring cup or spoon (for granular/solid fertilizers)
- ● Garden trowel or small hand shovel (for soil mixing)
- ● Gloves (to protect your hands from chemicals or soil)
- ● Watering can or hose: With a gentle spray nozzle for even distribution.
- ● Garden fork or spade: For loosening soil (especially for larger plants or garden beds).
- ● pH testing kit: Ensures your soil’s acidity/alkalinity is ideal for the fertilizer you’re using.
- ● Soil moisture meter: Helps determine if your plants need watering before fertilizing.
- ● Labeling markers: For tracking fertilizer types and application dates.
- ● Organic mulch (e.g., straw or wood chips): Retains moisture and slows nutrient runoff.
Step-by-Step guide to fertilizing plants for maximum growth
Here's how I boost plant health with precision—no guesswork, just science-backed feeding.
🌱 Step 1: Read the Plant Label and Choose the Right Fertilizer
Every plant has unique needs, so start by checking the label on your fertilizer bag. Look for the NPK ratio (numbers like 10-10-10) which indicates nitrogen, phosphorus, and potassium levels. Leafy greens like spinach or basil thrive on a higher nitrogen ratio (first number), while flowering plants such as tomatoes or roses need balanced or phosphorus-heavy (middle number) fertilizers.
I always match the fertilizer type to the plant's growth stage—young seedlings need low-strength, high-nitrogen feed, while mature plants benefit from slow-release granules. Organic options like compost or fish emulsion are gentler for sensitive plants, while synthetic granules work faster for heavy feeders.
💧 Step 2: Prepare the Soil Before Applying Fertilizer
Loosen the top 2-3 inches of soil around the plant’s base with a fork or trowel. This helps roots absorb nutrients more efficiently. If your soil is compacted or dry, water it first—damp but not soggy soil is ideal for fertilization. I tap the soil lightly to check moisture; if it crumbles easily, it’s ready.
For granular fertilizers, sprinkle them evenly in a 3-inch wide band around the plant, keeping them 2-3 inches away from the stem. This prevents root burn. Water the area lightly after application to help granules dissolve and reach the roots. Liquid fertilizers go directly into the watering can—never apply to dry soil.
☀️ Step 3: Apply Fertilizer at the Right Time and Frequency
Timing matters—never fertilize stressed plants (wilting, yellowing, or newly transplanted). Instead, feed during active growth phases: spring for perennials, every 4-6 weeks for annuals, and after harvest for vegetables. I set reminders on my phone to avoid overfeeding, which can harm roots.
Follow package instructions for dosage, but adjust based on plant type. Fast-growing plants (like lettuce or zucchini) need more frequent feeding, while slow growers (like lavender or succulents) do better with diluted applications every 8-10 weeks. Always water thoroughly after fertilizing to flush excess salts from the root zone.
✂️ Step 4: Monitor Plant Response and Adjust as Needed
Watch for visual cues in the week after fertilizing. Healthy growth looks like darker green leaves, stronger stems, and vigorous new shoots. If leaves turn yellow or brown, you’ve overdone it—flush the soil with plain water and reduce future doses. Leggy growth means too much nitrogen; balance with a phosphorus-rich feed next time.
I keep a small notebook by my garden to track which fertilizers work best for each plant. For example, my tomatoes respond well to a 5-10-10 feed every 2 weeks, while my peppers prefer organic compost tea monthly. Adjust based on what you observe—plants don’t lie about their needs.
🪴 Step 5: Switch to Slow-Release or Organic Options for Long-Term Health
For established plants, I phase out quick-release fertilizers and switch to slow-release granules or organic amendments like compost or worm castings. These feed roots steadily over 3-6 months, reducing the risk of overfertilization. Sprinkle ½ cup of slow-release granules around the base in early spring, then water deeply.
Top-dressing with 2-3 inches of compost in fall also replenishes soil nutrients naturally. I mix it into the top layer of soil and water it in—this builds soil health over time, so plants become less dependent on synthetic feeds. The key is consistency: a little often beats a lot all at once.
Tips & tricks for perfect plant fertilization
These science-backed strategies will help you avoid common mistakes and maximize your plants' growth potential.
NPK Ratio Deep Dive: Understanding the NPK ratio (Nitrogen-Phosphorus-Potassium) is key to plant success. The first number (Nitrogen) promotes leafy growth, the second (Phosphorus) encourages root and flower development, and the third (Potassium) boosts overall plant health. For example, a 10-10-10 ratio provides balanced nutrition, while a 30-10-10 is ideal for leafy greens. I always check the label and match it to my plant's specific needs—tomatoes love a 5-10-10 ratio, while roses thrive on a 10-20-20 blend.
Soil Preparation Secret: In Step 2, when loosening the top 2-3 inches of soil, I go a little deeper—about 3-4 inches—for established plants. This creates better aeration and allows roots to spread more easily. For compacted soil, I mix in a handful of perlite or coarse sand to improve drainage. The goal is to create an environment where roots can access nutrients efficiently without sitting in waterlogged conditions.
Timing is Everything: The instructions mention feeding during active growth phases, but I also pay attention to the moon cycles. Planting and fertilizing during the "root" phase (when the moon is in Taurus, Virgo, or Capricorn) helps roots absorb nutrients better. While not scientifically proven, I've noticed better results when I align my feeding schedule with these lunar phases—especially for vegetables and flowering plants.
Visual Cues for Success: After fertilizing, I look for specific visual cues to determine if my plants are thriving. Darker green leaves indicate healthy nitrogen levels, while strong stems and vigorous new shoots show overall plant vitality. If leaves turn yellow with green veins, it's a classic sign of iron deficiency that can often be corrected with a chelated iron supplement. I keep a small notebook by my garden to track these responses and adjust my fertilizer approach accordingly.
Pro Tips for Add Fertilizer To Plants
- These science-backed strategies will help you avoid common mistakes and maximize your plants' growth potential.
- NPK Ratio Deep Dive: Understanding the NPK ratio (Nitrogen-Phosphorus-Potassium) is key to plant success. The first n...
- Soil Preparation Secret: In Step 2, when loosening the top 2-3 inches of soil, I go a little deeper—about 3-4 inches—...
Frequently asked questions
Got questions about fertilizing your plants? You’re not alone! Here are some of the most common concerns—plus quick, actionable answers to keep your greens thriving.
How often should I fertilize my plants?
For most plants, fertilizing every 4–6 weeks during the growing season (spring to fall) is ideal. Slow-release fertilizers can stretch this to 8–12 weeks. Always check the product label—overdoing it can burn roots!
Can I fertilize plants right after transplanting?
Wait 2–4 weeks before fertilizing new transplants. This gives roots time to establish. If your soil is nutrient-poor, a light dose of diluted fertilizer (half-strength) can help—but avoid heavy feeding.
What’s the difference between liquid and granular fertilizer?
Liquid:
Fast-acting, great for quick nutrient boosts (e.g., foliar sprays or soil drenches). Granular: Slow-release, lasts longer, and is easier to apply. Mix into soil or top-dress. For best results, combine both—liquid for immediate needs, granules for sustained growth!
Why are my plant leaves turning brown after fertilizing?
Brown tips or crispy edges? You’re likely over-fertilizing. Flush the soil with water to dilute excess salts, then reduce frequency or strength. Yellowing leaves? Check for under-fertilization—time for a nutrient boost!
Can I use coffee grounds or eggshells instead of store-bought fertilizer?
Coffee grounds
add nitrogen (great for acid-loving plants like azaleas), while crushed eggshells provide calcium. Mix them into compost or topsoil, but they’re not a full replacement—combine with balanced fertilizer for optimal results.
Wrapping up and next steps
Adding fertilizer to your plants doesn’t have to be complicated—just follow the right steps, and you’ll see lush, thriving growth in no time! 🌱 Whether you’re a beginner or a seasoned gardener, the key is consistency, observation, and a little patience.
Start small, monitor your plants closely, and adjust as needed to keep them happy and healthy.
Now that you’re ready to boost your garden, take the next step: experiment with organic or slow-release fertilizers for even better long-term results. Happy planting—and watch your green space flourish! 🌿✨