
Fertilization
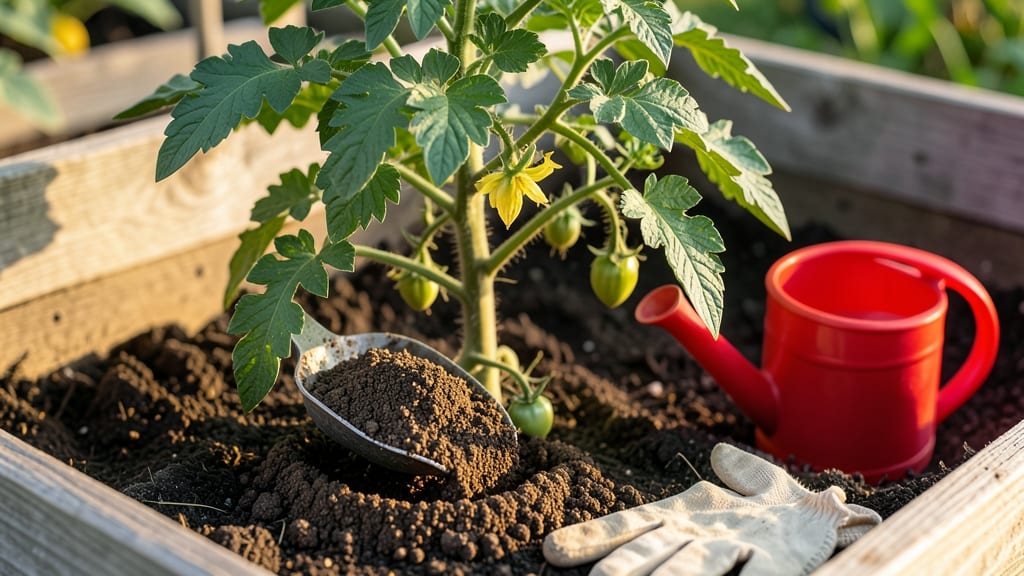
How to apply fertiliser right means the difference between lush growth and wasted money. ✨ I’ve burned plants with overzealous feeding—and learned the exact timing and methods that actually work. The secret isn’t just what you use, but when and how—and most gardeners skip the crucial details that make fertiliser pay off.
Start by matching your fertiliser type (organic like compost or fast-acting granules) to your plants’ needs. Vegetables need a balanced feed every 4-6 weeks, while lawns thrive with slow-release options twice a year.
The key? Split applications—small doses prevent shock, and timing matters: feed new seedlings lightly, established plants generously, and always water after applying to lock nutrients into the soil.
You’ll see results fast: deeper green leaves within days, stronger stems, and blooms that last longer. My tomatoes went from half-sized to dinner-plate in just two feedings, and my roses now burst with color instead of struggling.
The trick is consistency—don’t skip the mid-season boost, and always check soil moisture before fertilising.
Works for containers, raised beds, or in-ground gardens. Over-fertilising is the real enemy, so start light and adjust. Here’s how to do it without guessing—and without killing your plants.
📚 In This Guide
- What you need
- Instructions
- Tips and common mistakes
- Wrapping up and next steps
What you need
- ● Fertilizer: Granular fertilizer (e.g., 10-10-10 or 20-20-20 NPK ratio) – 1-2 lbs per 100 sq ft (adjust based on plant type and soil test results).
- ● OR Liquid fertilizer (e.g., fish emulsion, compost tea) – 1-2 tbsp per gallon of water (follow label instructions).
- ● Measuring tools: Measuring cup or scale (for granular fertilizer).
- ● Spray bottle or watering can (for liquid fertilizer).
- ● Application tools: Broadcast spreader (for even distribution of granular fertilizer).
- ● OR Hand-held spreader (for smaller areas).
- ● Gloves (to protect your hands from chemicals).
- ● Water source: Hose with a gentle spray nozzle (for activating granular fertilizer).
- ○ Soil test kit (optional but recommended): Helps determine your soil’s pH and nutrient levels before applying fertilizer.
- ● Slow-release fertilizer tabs: Great for container plants or precise dosing.
- ● pH testing strips: Ensures your fertilizer is working optimally in your soil.
- ● Organic matter (compost or worm castings): Mix into soil for long-term nutrient boost.
- ● Calibration guide for spreader: Ensures accurate fertilizer distribution.
Step-by-Step guide to applying fertiliser for healthy plant growth
Precision timing and technique make all the difference—here's how to feed your garden the right way.
🌱 Step 1: Test Soil and Choose the Right Fertiliser
Before applying any fertiliser, test your soil's pH and nutrient levels with a home kit or lab analysis. Most plants thrive in pH 6.0-7.0, but acid-lovers like azaleas need 5.0-6.0. I always match the fertiliser type to my plants' needs: slow-release granules for perennials, liquid for container plants, and organic compost for vegetables.
Check the label for NPK ratios (Nitrogen-Phosphorus-Potassium) and application rates. For example, a 10-10-10 balanced fertiliser means equal parts of each nutrient. Over-fertilising burns roots—always follow the recommended dosage. If your soil test shows high phosphorus, skip the P-heavy fertilisers and opt for a higher nitrogen blend instead.
⏰ Step 2: Time Applications for Optimal Uptake
Apply fertiliser when plants are actively growing—not during dormancy. For spring-blooming perennials, I fertilise in early spring as new growth appears. Vegetables get their first feeding 2-3 weeks after transplanting, then every 4-6 weeks during the growing season. Always water thoroughly 24 hours before and after applying fertiliser to prevent root burn.
Morning applications work best because cooler temperatures reduce nutrient loss from evaporation. Avoid fertilising when rain is forecast—you'll wash away half the nutrients before roots can absorb them. I set a calendar reminder for my fertilising schedule to avoid missing critical growth windows.
💧 Step 3: Apply Evenly Using the Right Method
For granular fertilisers, use a spreaders (broadcast or drop) to distribute evenly. Walk in a crisscross pattern for large beds, applying ½ inch of granules per square foot as a general rule. For containers, sprinkle 1 teaspoon per gallon of soil and mix lightly into the top 1-2 inches. Always wear gloves—some fertilisers can irritate skin.
Liquid fertilisers require dilution first. Mix according to package instructions (usually 1-2 tablespoons per gallon of water) and apply with a watering can or hose-end sprayer. Focus on the root zone—never let fertiliser pool around stems. After applying, water again to help nutrients penetrate the soil and reach roots.
🌿 Step 4: Monitor and Adjust for Plant Response
Watch for signs of proper fertilisation: dark green leaves, vigorous new growth, and abundant blooms. If leaves turn yellow with green veins, your plants need more iron (a micronutrient deficiency). Brown leaf edges or crispy tips mean over-fertilising—flush the soil with plain water immediately and reduce future applications by half.
Adjust your fertilising schedule based on plant type. Fast growers like tomatoes and corn need weekly feedings with a high-nitrogen fertiliser early in the season. Slow growers like roses benefit from monthly applications of a balanced fertiliser. Keep detailed records of what you apply and when—this helps troubleshoot issues next season.
✂️ Step 5: Clean Up and Store Properly
After fertilising, sweep up any excess granules that didn't stick to the soil. Leftover fertiliser can burn plants if it accumulates in one spot. Store unused fertiliser in a cool, dry place in its original container, away from children and pets. I keep a separate bin for organic fertilisers and synthetic ones to avoid cross-contamination.
Clean your spreaders and tools with warm, soapy water after each use to remove residue. Some fertiliser salts can corrode metal tools over time, so I rinse them thoroughly and dry them completely before storage. Proper cleanup ensures your tools stay in good condition for next season's applications.
Tips & tricks for precision fertiliser application
These insider tricks will help you avoid common mistakes and maximize your garden's nutrient uptake every time.
Soil Test Timing: I always schedule soil tests in early spring before planting season begins. This gives me time to adjust pH levels with lime or sulfur if needed, and select the right fertiliser blend. For container plants, test every 6-12 months since nutrients deplete faster in limited soil volumes. The 24-hour watering rule before application (from Step 2) becomes even more critical after soil amendments.
Fertiliser Type Matching: Here's what I learned the hard way: slow-release granules work best for perennials because they feed roots steadily over 6-8 weeks, while liquid fertilisers give container plants an immediate boost. For vegetables, I alternate between granular and liquid—granular at planting and liquid every 4-6 weeks during active growth. Always check the label's recommended application rates to avoid overdoing it.
Application Technique: The crisscross pattern for granular fertilisers (Step 3) ensures even distribution, but I add this extra tip: use a light hand—over-applying can create nutrient "hot spots" that burn roots. For containers, I mix the 1 teaspoon per gallon into the top 1-2 inches of soil using a small hand trowel rather than just sprinkling on top. This prevents surface runoff during watering.
Seasonal Adjustments: In hot climates, I fertilise in early morning or late afternoon to prevent nutrient loss from evaporation. For cool-season crops like lettuce, I reduce nitrogen applications by half after the first 4-6 weeks to encourage leaf production rather than excessive stem growth. The 24-hour watering window becomes crucial in these cases to prevent salt buildup.
Pro Tips for Apply Fertiliser
- These insider tricks will help you avoid common mistakes and maximize your garden's nutrient uptake every time.
- Soil Test Timing: I always schedule soil tests in early spring before planting season begins.
- For vegetables, I alternate between granular and liquid—granular at planting and liquid every 4-6 weeks during active growth.
Frequently asked questions
Got questions about fertilizing? You’re not alone! Here are answers to the most common concerns—so you can grow with confidence.
How often should I fertilize my plants?
Frequency depends on your plants and fertilizer type. Slow-release granules can last 2–3 months, while liquid fertilizers may need weekly applications during growing seasons. Always follow the product label, but most veggies and flowers thrive with every 4–6 weeks in warm months. Overdoing it can burn roots—so less is often more!
Is it okay to fertilize right before rain?
Rain can wash away nutrients before plants absorb them. For granular fertilizers, apply 1–2 days before rain. With liquid fertilizers, water lightly after application to help absorption. If heavy rain is forecast, wait until the weather clears—your plants (and wallet) will thank you!
Can I use coffee grounds or eggshells instead of store-bought fertilizer?
These are great organic amendments but work differently than synthetic fertilizers. Coffee grounds add nitrogen (great for acid-loving plants like blueberries), while crushed eggshells provide calcium. For balanced growth, combine them with compost or a complete fertilizer. Just remember: homemade options are nutrient-dense but slower-acting.
Why are my leaves turning yellow/brown after fertilizing?
This is often a sign of over-fertilization or root burn. Flush the soil with water to dilute excess salts, then reduce fertilizer strength or frequency. Yellowing on older leaves? Likely nitrogen overload. Brown crispy edges? Too much salt. Adjust your routine and monitor soil moisture—healthy plants drink before they eat!
What’s the best time of day to fertilize?
Early morning is ideal—cooler temps and lower evaporation help nutrients absorb efficiently. Avoid fertilizing in peak sun (10 AM–4 PM), as it can stress plants. If you must fertilize later, water thoroughly afterward to protect roots. Pro tip: Never fertilize in extreme heat or drought—plants can’t process nutrients when they’re thirsty!
Wrapping up and next steps
Applying fertiliser the right way is the secret ingredient to a thriving garden! 🌱 By choosing the right type, timing, and technique—whether it’s granular, liquid, or organic—you’re giving your plants the nutrients they need to flourish.
Remember: consistency and patience are key, so monitor your plants and adjust as needed.
Ready to see your garden really take off? Start small with one section, track progress, and expand your fertiliser know-how. Happy growing! 🌿