
Propagation
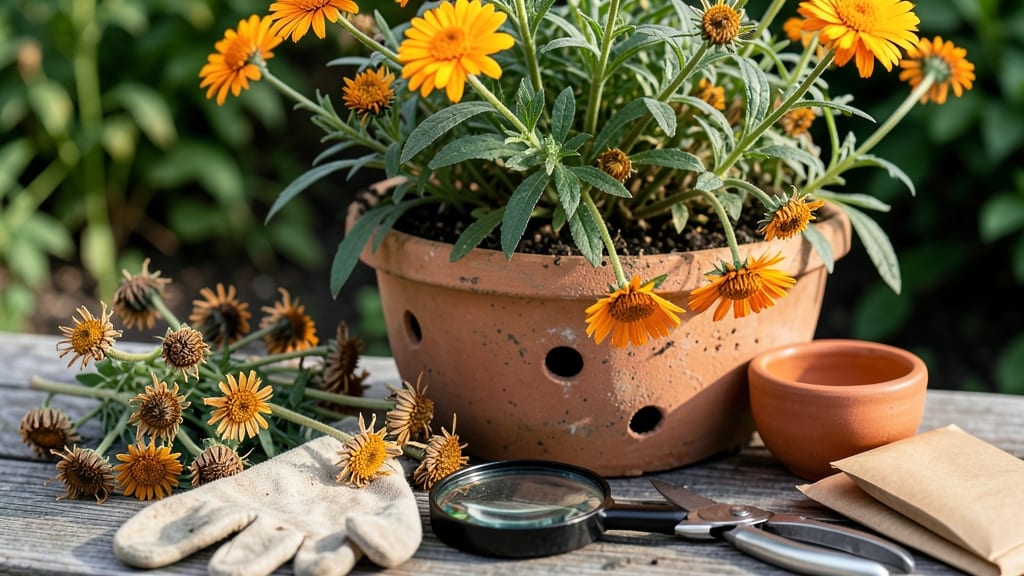
Collecting calendula seeds is like catching a fleeting moment in your garden—miss the perfect timing, and those tiny treasures scatter into the wind before you can save them.
The key lies in spotting when those vibrant 🌼 blooms transform into dry, papery seed pods, ready to crack open and release their harvest.
I’ve learned the hard way that patience is everything—waiting too long means lost seeds, while harvesting too early guarantees poor germination.
But once you master the signs (think brown petals, brittle stems, and that unmistakable rattle inside the pods), you’ll unlock a free, endless supply of calendula for next season’s garden.
In this guide, I’ll walk you through every step—from identifying mature pods to drying and storing seeds properly—so you never waste another harvest. Whether you’re a beginner or a seasoned gardener, these tips will ensure your calendula seeds stay viable and ready to plant when spring rolls around.
Ready to turn those dried flower heads into next year’s vibrant blooms? Let’s dive into the exact techniques that work, plus the common mistakes to avoid so your seeds don’t end up as bird snacks instead of future plants.
When and how to spot calendula seed pods ready for harvesting
Calendula flowers start as bright orange or yellow blooms, but their true treasure hides in the dried seed pods that form once they fade. The key to a successful harvest lies in recognizing the exact moment when these pods mature—before they crack open and scatter seeds to the wind.
This window is short, so watch your plants closely during late summer to early fall.
Look for brown, papery petals that have curled away from the center. Inside, the seed pods will feel dry and brittle, almost hollow when gently squeezed.
If you shake a mature flower head, you’ll hear seeds rattling—a telltale sign they’re ready. Green or plump pods mean the seeds aren’t mature yet, and harvesting them too early reduces viability.
Climate plays a role in timing. In cooler zones (USDA 3-5), pods may mature by mid-August, while warmer zones (USDA 7-10) can extend harvesting until October or November.
Morning is the best time to check, as dew can mask dryness, making pods appear fresher than they are.
Here’s a quick visual guide to compare ready vs. not-ready seed pods:
If you’re unsure, cut one pod open to check the seeds inside. Mature seeds are dark brown or black and look like tiny, wrinkled beans. Immature seeds are light green or white and won’t store well.
Pro tip: Use a magnifying glass to inspect seeds—it makes the color difference easier to spot.
Harvesting at the right time ensures high germination rates and saves you from wasting time on seeds that won’t sprout. Once pods crack open, seeds can scatter up to 3 feet away, so act fast!
Even a light breeze can carry them beyond your garden. If you miss the window, don’t worry—just let the seeds self-sow naturally for next year’s crop.
In humid climates, pods may develop mold before drying. In this case, harvest slightly earlier (when 70% of pods are dry) and finish drying indoors. Spread pods on a paper towel-lined tray in a warm, dry place with good airflow to prevent spoilage.
Pay attention to pest activity too. Bees and other insects love calendula blooms, but they can also contaminate your seed harvest. If you notice chewed petals or damaged pods, cover plants with fine mesh netting during the drying phase to protect your seeds.
Finally, label your harvest by variety if you’re growing multiple types. Calendula comes in shades from pale cream to deep rust, and each variety may have slightly different drying times. Keeping notes helps you refine your timing for next season.
Step-by-step guide to safely collecting seeds without losing them
Once your calendula seed pods turn brown and papery, it’s time to act fast. The pods will crack open and release seeds to the wind if you wait too long. Grab a pair of clean scissors or gardening shears and snip the dried flower heads just above the stem.
Work on a dry, sunny day to prevent moisture from causing mold. Lay the harvested pods on a clean paper towel or brown paper bag to dry further. Avoid plastic bags—they trap humidity and ruin seeds.
Gather Tools
- Clean scissors or pruning shears
- Paper bags or paper towels
- Small envelope or seed packet
- Optional: Fine mesh bag for windy days
Gently crush the pods between your fingers or a rolling pin to release the seeds. Avoid shaking them directly over your hand—some seeds may still be immature and won’t germinate. Sift the mixture through a fine mesh strainer to separate seeds from debris.
Store the seeds in a paper envelope or small glass jar with a dampness indicator (like a silica gel packet). Label it with the harvest date and variety name to track freshness. Keep them in a cool, dark place like a pantry or seed vault.
If you notice mold or pests, discard the batch immediately. A musty smell or black spots mean the seeds are compromised. For extra protection, freeze seeds for 24 hours to kill any hidden insects before storage.
With these steps, you’ll preserve viable calendula seeds for years—ready to plant next season without buying new ones. Happy harvesting! 🌾