
How To
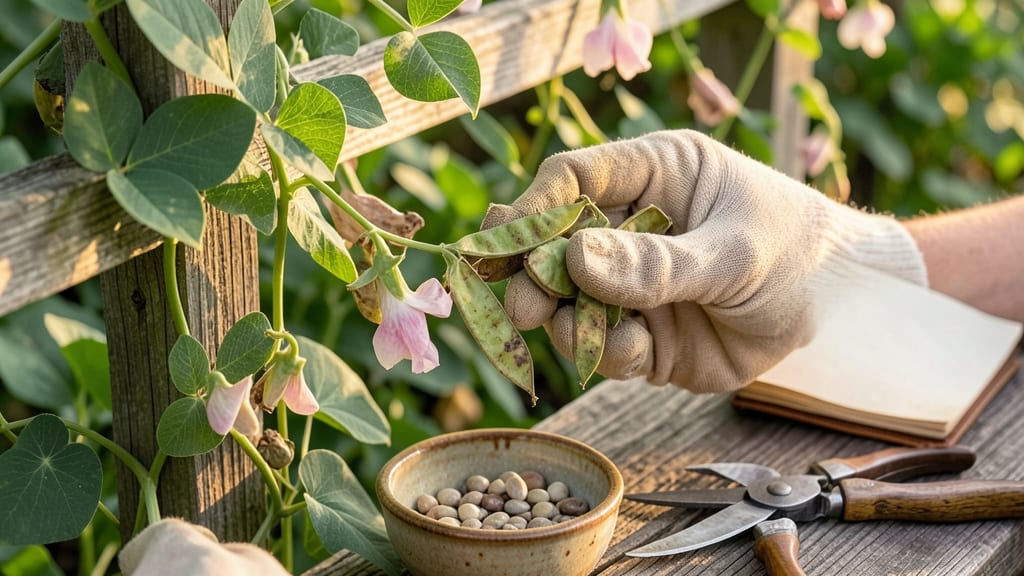
Mastering how to harvest sweet pea seeds is like unlocking a gardener’s treasure chest—free, heirloom-quality blooms for next year’s garden. Those delicate 🌸 sweet peas you adore aren’t just pretty faces; they’re seed-saving goldmines waiting to be collected.
The key to success lies in timing and patience. Harvesting too early means shriveled seeds, while waiting too long risks them scattering across your yard. I’ll walk you through the exact signs to watch for—like when pods turn brown and rattle with promise—so you never miss the perfect moment.
Once you’ve spotted the right pods, the real work begins: drying, storing, and troubleshooting common pitfalls like mold or pests. With the right techniques, you’ll preserve seeds that’ll sprout into vibrant climbers year after year, saving you money and keeping your garden’s charm alive.
Whether you’re a seasoned gardener or just starting, these steps will turn your sweet pea harvest into a reliable source of seeds for seasons to come. Let’s get those pods ready for next spring’s blooms!

When and how to identify mature sweet pea pods for seed harvesting
Harvesting sweet pea seeds at the right time ensures high germination rates and healthy plants next season. The key is watching for visual maturity cues—specifically, when pods turn from green to dry brown and begin cracking open naturally.
This usually happens 8-10 weeks after flowering, depending on your climate.
Sweet peas thrive in USDA Zone 6a or warmer, where warm summer days and cool nights create ideal conditions for seed maturation. In hotter climates, pods may dry faster, so monitor them closely to avoid missing the window.
The best time to check is on dry, sunny mornings when pods are fully exposed to light.
Look for three key signs of readiness: pods should be brown and papery, seeds should rattle inside when shaken gently, and the pod seams may start splitting. If you harvest too early, seeds won’t be fully developed, while waiting too long risks them scattering on the ground.
🌸
| Stage | Pod Color | Texture | Seed Readiness | Action |
|---|---|---|---|---|
| Early Flowering | Green | Firm | Not formed | Observe growth |
| Pod Development | Green-brown | Slightly soft | Developing | Wait 4-6 weeks |
| Mature Ready | Dry brown | Papery, cracking | Fully formed | Harvest immediately |
| Overripe | Light brown | Brittle, splitting | Scattered seeds | Too late |
In cooler climates, pods may take longer to mature, so extend your monitoring period into early fall. If frost threatens before pods dry, harvest them early and finish drying indoors. Place pods in a well-ventilated area with indirect sunlight to complete the process.
Always harvest pods on dry days to prevent mold growth. Use clean, sharp pruning shears to snip pods from the vine, leaving a small stem attached. This helps prevent damage to the plant and makes handling easier during the drying process.
If you notice yellowing leaves or stunted growth on your sweet pea vines, this could signal nutrient depletion as the plant focuses energy on seed production. At this stage, reduce watering slightly and avoid fertilizing to encourage natural pod maturation.
Pro tip: Label your pods with variety names and harvest dates using a soft plant marker. This helps track which seeds belong to which heirloom variety, especially if you’re growing multiple types in the same garden.
🌿
One common mistake is confusing fully mature pods with those affected by powdery mildew or other diseases. Diseased pods will appear grayish or spotted, while healthy mature pods are uniformly brown. Always discard any pods showing signs of rot or fungal growth to protect your seed quality.
Step-by-step process for collecting, drying, and storing sweet pea seeds
Once you’ve identified those perfectly mature sweet pea pods, the next step is collecting and processing them properly. Start by gently twisting pods from the vine—never pull or you risk damaging the plant.
Place them in a paper bag (not plastic) to allow airflow, which prevents mold during drying. This step is critical for maintaining seed viability and avoiding common pitfalls like dampness-related rot.
After harvesting, lay the pods out in a single layer on a clean, dry surface like a screened tray or baking sheet. Choose a warm, well-ventilated spot away from direct sunlight—think of a sunny windowsill or garage shelf—where temperatures stay between 65-75°F (18-24°C).
Avoid attics or basements, as humidity fluctuations can ruin your seeds.
🌱 Step-by-Step Seed Processing
- 1. Pod Extraction: Once pods are completely dry (about 2-3 weeks), gently squeeze them to release seeds. Avoid crushing—this protects seed coats.
- 2. Seed Cleaning: Remove debris using a fine mesh sieve or sifter. Discard any discolored or shriveled seeds—these won’t germinate.
- 3. Final Drying: Spread clean seeds on parchment paper for 1-2 days to ensure 0% moisture. Use a dehumidifier if your home feels damp.
- 4. Storage Prep: Label paper envelopes with the variety name and harvest year. Add a silica gel packet to absorb moisture.
- 5. Long-Term Storage: Store envelopes in a cool, dark place like a refrigerator crisper or seed vault. Test germination after 1 year to check viability.
For large harvests, consider using glass jars with airtight lids—just leave a tiny gap to prevent condensation. If you’re unsure about seed quality, conduct a germination test by planting 10 seeds in moist paper towels.
After 7-10 days, count the sprouted seeds to estimate your viability rate. Aim for 80%+ germination for reliable planting next season.
Pro tip: Sweet pea seeds can last 3-5 years if stored properly, but germination rates drop after 2 years. For heirloom varieties, prioritize annual harvesting to maintain purity. Avoid plastic containers—they trap moisture and accelerate seed spoilage.
Finally, document your process! Note the harvest date, pod appearance, and storage conditions in a gardening journal. This helps you replicate success in future seasons. With these steps, you’ll have homegrown seeds ready for next spring’s climbing beauty.