
Propagation
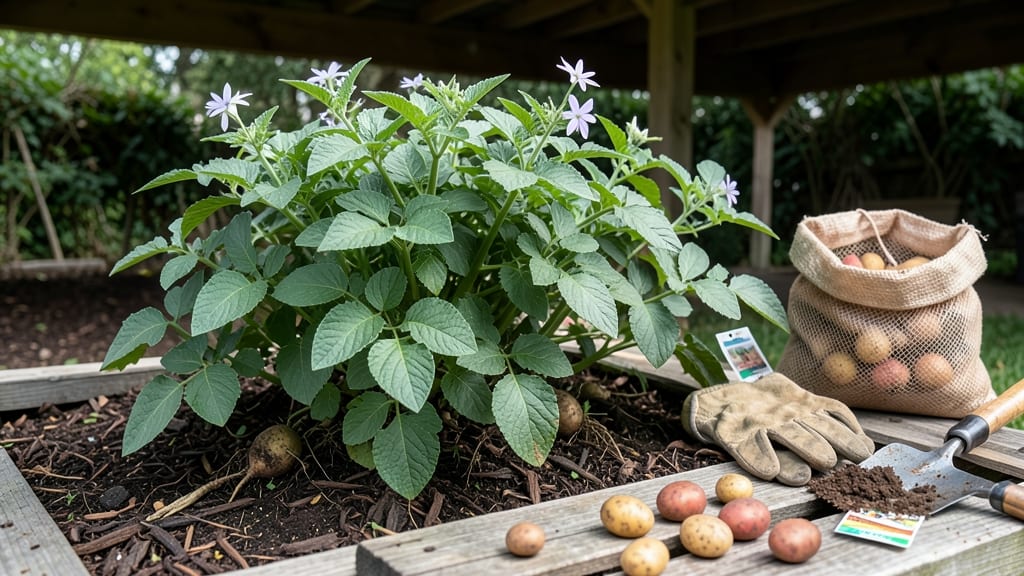
How to keep potatoes for seed takes patience—but it’s the secret to next year’s bountiful harvest. 🌱 After digging your last crop, don’t toss those tubers! With the right cold-dark cure, you’ll save money, avoid disease, and grow plants stronger than store-bought seeds. The trick? Mimicking winter’s natural dormancy period to wake them up just right for spring planting.
Start by curing your potatoes in a cool, dark, humid space (around 50-60°F) for 4-6 weeks. This hardens their skins and builds natural resistance. Then, inspect each tuber for soft spots or sprouts—disease-free potatoes are your best bet for a thriving garden.
Store them in a paper bag or cardboard box (never plastic) with a little peat moss to keep humidity steady.
By spring, you’ll have vigorous, disease-resistant plants ready to go straight into the ground. The payoff? Homegrown potatoes that adapt perfectly to your soil and climate. No more guessing which varieties will thrive—just reliable, home-cured seed potatoes that produce like champions.
This method works for any potato variety, whether you’re growing russets, reds, or fingerlings. The key is consistency: keep them cool, dark, and undisturbed until planting time. Once you master it, you’ll never buy seed potatoes again!
📚 In This Guide
- What you need
- Instructions
- Tips and common mistakes
- Wrapping up and next steps
What you need
- ● Seed potatoes: Disease-free, certified organic or heirloom potatoes (2–4 lbs per variety, depending on your planting goals). Choose medium to large tubers with at least 2–3 "eyes" (buds).
- ● Storage containers: Wooden crates, mesh bags, or cardboard boxes (with ventilation holes, ~1/4" diameter, drilled or pre-cut).
- ● Paper bags or breathable fabric sacks (avoid plastic—it traps moisture!).
- ● Cooling environment: A cool, dark space (40–50°F / 4–10°C) like a basement, root cellar, or garage.
- ○ Optional: A temperature-humidity monitor (to track conditions).
- ● Labeling supplies: Masking tape + permanent markers (to label varieties and harvest dates).
- ● Disinfectant: 10% bleach solution (1 part bleach to 9 parts water) for cleaning containers.
- ● Wood ash or diatomaceous earth (to deter pests like moths or rodents).
- ● Burlap sacks or old sweaters (for cushioning delicate tubers).
- ● A small fan (for gentle air circulation in humid climates).
- ● Humidity packs (to maintain 70–80% humidity if your space is dry).
Step-by-Step instructions for storing potatoes for seed
Here's how I prepare potatoes for next season's planting—simple, reliable, and proven.
🌱 Step 1: Select and Harvest Healthy Seed Potatoes
Choose medium-sized potatoes with firm, blemish-free skin and well-developed eyes—these are your best candidates for seed. Avoid any with soft spots, sprouts, or signs of disease. Harvest them when the vines die back naturally (usually 2-3 weeks after the plants yellow). Dig carefully to prevent bruising, which invites rot.
Let the harvested potatoes cure in the sun for 2-3 hours after digging. This toughens the skin and helps them store longer. Then brush off excess soil but leave the curing skin intact—don’t wash them yet. Store in a cool, dark place (around 50°F) for 1-2 weeks to complete the curing process.
⏰ Step 2: Cold-Dark Cure for 3-4 Months
After curing, place the potatoes in a dark, humid environment (like a basement or unheated garage) where temperatures stay between 35-45°F. I use a wooden crate or cardboard box lined with straw or shredded newspaper—this mimics natural storage conditions and prevents moisture loss.
Check the potatoes monthly and remove any that sprout or show signs of rot. The cold, dark cure hardens the tubers and ensures strong, disease-resistant seed potatoes for spring planting. If you notice any green spots (from light exposure), cut them off immediately—they contain toxic solanine.
☀️ Step 3: Chit (Sprout) in Light Before Planting
About 4-6 weeks before your last frost date, move the potatoes to a bright, cool location (like a sunny windowsill or under grow lights) to encourage chitting—the process of sprouting small, sturdy shoots. The eyes (buds) will turn green and develop 1-inch sprouts in about 2-3 weeks. This gives you a head start on the growing season.
Don’t let the sprouts grow too long before planting—1-2 inches is ideal. Overgrown sprouts can exhaust the tuber’s energy before it even hits the soil. If you see weak, leggy sprouts, move the potatoes back to the dark for a week to reset growth.
🪴 Step 4: Plant Chitted Seed Potatoes in Spring
When soil temperatures reach 45°F, it’s time to plant. Cut larger potatoes into pieces with 2-3 eyes each, letting the cut ends callus over for 24 hours before planting. This prevents rot and ensures each piece has enough energy to grow. Plant 4 inches deep, 12 inches apart, with the sprouts facing up—they’ll grow faster this way.
Mulch with 2-3 inches of straw to retain moisture and regulate soil temperature. Water lightly after planting, then wait until the soil warms further before increasing watering. The chitted sprouts will emerge 2-3 weeks earlier than unchitted potatoes, giving you a longer growing season and bigger yields.
Tips & tricks for perfect potato seed storage
These small details make all the difference when preserving your potatoes for next year's garden.
Selection Intelligence: The 2-3 hours of sun-curing in Step 1 isn't just about drying the skin—it's about hardening the tuber's natural defenses. Look for potatoes with firm, papery skin and well-defined eyes when selecting. These characteristics indicate the potato's natural resistance to rot and disease during storage. Avoid any potatoes that feel soft or have sprouts already forming—they won't survive the cold cure.
Temperature Precision: Maintaining that 35-45°F range during the 3-4 month cold cure is absolutely critical. I've found that using a thermometer in your storage area prevents temperature swings that can cause sprouting or rotting. If your basement fluctuates, consider using a cooling unit designed for root cellars—it's worth the investment for quality seed potatoes. The goal is to mimic natural winter conditions where potatoes would survive in the ground.
Chitting Technique: When you're ready to move potatoes to light for chitting in Step 3, position them with the eyes facing upward—this is where the sprouts will emerge. I've had the best success using egg cartons placed on their sides with the potatoes nestled in the cups. This keeps them stable while allowing maximum light exposure. The 1-inch sprout target is perfect because these are sturdy enough to handle transplanting but haven't yet depleted the tuber's energy reserves.
Planting Preparation: The 24-hour callusing period before planting larger potato pieces is often overlooked, but it's essential. After cutting, place the pieces on a paper towel-lined tray in a single layer. The cut surfaces will dry slightly and form a protective barrier that prevents rot when planted. This simple step has saved me from losing entire planting sections to fungal infections in the past.
Pro Tips for Keep Potatoes For Seed
- These small details make all the difference when preserving your potatoes for next year's garden.
- Selection Intelligence: The 2-3 hours of sun-curing in Step 1 isn't just about drying the skin—it's about hardening t...
- Temperature Precision: Maintaining that 35-45°F range during the 3-4 month cold cure is absolutely critical. I've fou...
Frequently asked questions
Got questions about storing potatoes for seed? You’re not alone! Here are answers to the most common concerns—so you can keep your spuds healthy and ready for next year’s garden.
How long can I store potatoes for seed?
With proper conditions (cool, dark, and dry), seed potatoes can last 3–5 months before sprouting. For best results, plant them within 2–3 months of harvest. If stored longer, check for sprouting weekly—plant them as soon as you see green shoots (about 1/2 inch long).
Can I use store-bought potatoes as seed?
Technically, yes—but it’s risky! Store-bought potatoes are often treated to prevent sprouting or may carry diseases. For reliable results, buy certified seed potatoes from a nursery. If you must use grocery-store spuds, chit them (pre-sprout) first in a bright, cool spot to ensure viability.
What’s the best temperature for storing seed potatoes?
Aim for 35–45°F (2–7°C)—too warm, and they’ll sprout early; too cold (below freezing), and they’ll rot. A root cellar, garage, or unheated basement works well. Avoid refrigeration (it turns starches to sugar, making them taste sweet and reducing sprouting quality).
Why are my seed potatoes sprouting too early?
Early sprouting usually means too much light or warmth. Move them to a darker, cooler spot immediately. If sprouts are <1/2 inch, they’re ready to plant. For longer storage, reduce light exposure (use cardboard boxes or opaque bags) and keep temps stable. Never refrigerate—it speeds up spoilage.
What if my seed potatoes develop mold or rot?
Discard any potatoes with soft spots, foul smells, or mold—they won’t sprout and can spread disease. To prevent rot, ensure high humidity (85–90%) but good airflow (use a mesh bag or ventilated container). If stored in a pile, space them out with newspaper or straw to avoid moisture buildup.
Still stumped? Drop your question in the comments—we’re happy to help you grow a bumper crop next season!
Wrapping up and next steps
Keeping potatoes for seed is a rewarding way to ensure healthy, high-quality tubers for next year’s harvest—just follow the cold-dark cure method!
By selecting the best tubers, storing them in ideal conditions, and monitoring for spoilage, you’ll set yourself up for success. Don’t let fear of failure stop you—every gardener starts somewhere!
Ready to take the next step? Experiment with different varieties or share your seed potatoes with fellow gardeners to expand your yield. Happy growing! 🌱💚