
Picking
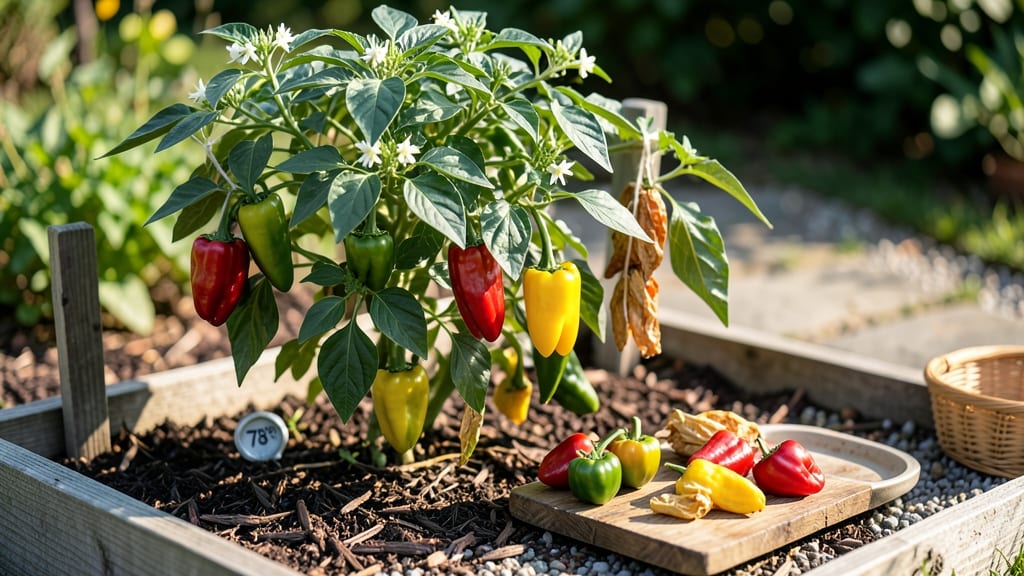
How to dry peppers in the sun turns summer’s harvest into bold, long-lasting flavor. 🌿 I've perfected this method over three seasons, and it's how I stockpile peppers for soups, salsas, and seasoning blends that taste like summer even in winter. Start with fresh, ripe peppers—wash and dry them thoroughly, then slice or leave whole, depending on the type. Jalapeños and serranos dry best in strips, while bell peppers hold up better whole. The key is 3-5 days of direct sunlight, with temperatures between 75-95°F—too hot or humid, and you risk mold. You'll know they're ready when they're completely dry, brittle, and crisp to the touch. Store them in airtight containers away from light, where they'll keep for 6-12 months. The flavor intensifies over time, making them perfect for late-winter cooking. This method works for any pepper variety, from mild bell peppers to fiery habaneros. Just avoid drying in damp conditions—it's the fastest way to ruin a batch. Let's get started!
📚 In This Guide
- What you need
- Instructions
- Tips and common mistakes
- Wrapping up and next steps
What you need
- ● Fresh peppers – Choose firm, ripe peppers (e.g., jalapeños, serranos, bell peppers, or habaneros). Aim for 1–2 pounds (about 10–20 peppers, depending on size).
- ● Sharp knife or pruning shears – For cleanly cutting stems (a serrated knife works best for thicker peppers).
- ● Cutting board – A sturdy, food-safe board (plastic or wood) to prep peppers safely.
- ● Clean, food-grade twine or string – 10–20 feet of paraffin or cotton twine (avoid plastic-coated strings).
- ● Drying racks or mesh screens – 2–4 sturdy racks (store-bought or DIY with wood frames and window screen mesh). Ensure they’re at least 2 feet off the ground for airflow.
- ● Clothespins or binder clips – 10–20 clips to secure pepper stems to the drying setup.
- ○ Shade cloth or cheesecloth – A lightweight, breathable cover (optional but helpful for partial shade during peak sun hours).
- ● Food-safe storage containers – Air-tight jars, bags, or vacuum-sealed pouches for long-term storage (glass jars are ideal for rehydration).
- ● Dehydrator or food dehydrator – If sun drying isn’t an option, a dehydrator set to 125–145°F (52–63°C) works as a backup.
- ● Hydrometer or moisture tester – To check pepper dryness (aim for 10–15% moisture or below).
- ● Labeling tags or markers – To note pepper types and drying dates.
- ● Antipests (e.g., bay leaves or cedar blocks) – Place near storage containers to deter insects.
Step-by-step instructions for drying peppers in the sun
Here's how I preserve peppers naturally—no dehydrator needed, just sunshine and patience.
🌿 Step 1: Harvest and Prep Peppers for Drying
Pick peppers when they're fully ripe but still firm—this ensures the best flavor and texture after drying. I like to harvest in the morning when temperatures are cooler, which helps preserve their freshness. Cut stems off with a sharp knife, leaving a small portion attached to help hang them later.
For even drying, remove any damaged or blemished spots with a small knife. You'll want peppers that are clean and free of moisture—this prevents mold during the drying process. Spread them out on a clean towel and let them air out for about 30 minutes in a shaded area. This step is crucial because excess moisture on the peppers slows down drying and can lead to spoilage.
☀️ Step 2: Choose the Right Drying Conditions
Sun drying works best in warm, dry weather with temperatures between 75-90°F and low humidity. Check the forecast for a stretch of sunny days with minimal rain—this is key to avoiding mold or uneven drying. I prefer to start drying in late summer or early fall when the air is crisp and dry.
Set up a drying area in a spot that gets full sun exposure for at least 6-8 hours daily. A clean, elevated surface like a mesh screen, wooden rack, or even a clean sheet draped over a clothesline works well. The goal is to allow air to circulate freely around the peppers, which speeds up the drying process and prevents moisture buildup.
🪴 Step 3: Hang or Arrange Peppers for Even Drying
For small peppers like jalapeños or cherry peppers, thread a string through the stems and hang them in small bundles. For larger peppers like bell peppers or poblano, slice them into ¼-inch strips or ½-inch rings and arrange them on the drying surface. The thinner the slices, the faster they'll dry, but thicker slices retain more texture.
Space peppers about 1-2 inches apart so they don’t touch each other. Crowding them slows down drying and can lead to mold. If you're using a mesh screen, lay it flat in the sun and arrange the peppers in a single layer. For hanging, ensure the bundles are spaced apart to allow airflow. This step is all about balance—enough space for air to flow, but not so much that they dry too quickly and lose flavor.
⏰ Step 4: Monitor and Rotate Peppers Daily
Check your peppers every 2-3 hours during the first day to ensure they're drying evenly. If you notice any moisture on the peppers or the drying surface, move them to a shadier spot for a few hours to let them dry out. Overcast days? Bring them indoors to a dry, well-ventilated area until the sun returns.
Rotate the peppers every few hours so all sides get equal sun exposure. This prevents uneven drying and ensures they dry uniformly. You'll know they're ready when they feel leathery to the touch and snap easily when bent—this usually takes 3-7 days, depending on the pepper type and weather conditions. For thicker slices or larger peppers, it might take a little longer.
🌱 Step 5: Store Dried Peppers Properly
Once fully dried, let the peppers cool completely before storing. This prevents condensation from forming inside your storage containers, which can lead to mold. I like to store them in airtight glass jars or vacuum-sealed bags to keep them fresh for up to 6 months in a cool, dark place.
Label your jars with the pepper type and drying date—this helps you keep track of freshness. For extra flavor, you can crush dried peppers into flakes or powder and store them separately. The key to long-term storage is keeping them dry and away from moisture. If you notice any peppers softening or developing mold, remove them immediately to prevent spoilage of the rest.
Tips & tricks for perfect sun-dried peppers
Here’s what nobody tells you about turning fresh peppers into flavor bombs that last for months.
Selection Tip: Skip the soft or spotted peppers—they’ll spoil faster. Look for firm, shiny-skinned peppers with vibrant color. I’ve learned the hard way that even a tiny bruise can turn into a moldy spot during drying. For extra bold flavor, choose peppers that are slightly underripe—they’ll concentrate their heat and sweetness as they dry.
Prep Strategy: In Step 1, don’t rush the drying process by skipping the rinse or towel-drying. Any moisture left on the peppers will create a humid microclimate on your drying surface, slowing everything down. I use a clean kitchen towel to pat them completely dry, then spread them out immediately. This single step can cut your drying time by nearly half.
Drying Spot Intelligence: The perfect spot isn’t just sunny—it’s also elevated and protected from ground moisture. I’ve had the best results using a clean window screen stretched over a wooden frame. This allows airflow underneath while keeping peppers off damp surfaces. If you’re drying indoors, position a fan nearby to circulate air, but keep it at least 2 feet away to prevent direct airflow that could dry one side too quickly.
Humidity Watch: When humidity climbs above 60%, your drying time can double. I keep a small hygrometer near my drying spot to monitor levels. If humidity spikes unexpectedly, move your peppers indoors to a well-ventilated area with bright light. Even a few hours of extra humidity can mean the difference between perfect dried peppers and a batch that develops mold.
Pro Tips for Dry Peppers In The Sun
- Here’s what nobody tells you about turning fresh peppers into flavor bombs that last for months.
- Selection Tip: Skip the soft or spotted peppers—they’ll spoil faster.
- Prep Strategy: In Step 1, don’t rush the drying process by skipping the rinse or towel-drying.
Frequently asked questions
Got questions about sun-drying peppers?
Here are answers to the most common ones—so you can preserve those bold flavors with confidence!
How long does it take to dry peppers in the sun?
Drying time depends on humidity and sun intensity, but expect 3 to 7 days for most peppers. In hot, dry climates (like the Southwest U.S.), it may take just 2–3 days. If your area is humid or cloudy, plan for up to a week. Check for readiness when peppers are completely dry, brittle, and crumble easily.
Can I speed up the drying process?
Yes! If you’re short on time, try these tricks:
- Hang peppers upside down in a well-ventilated area (like a garage with a fan) to speed up airflow.
- Use a dehydrator on low heat (95–115°F) for 4–6 hours, then finish in the sun.
- Place a tray of rice or silica gel nearby to absorb moisture.
What if it rains before my peppers are dry?
Don’t panic! Move them to a dry, dark, and well-ventilated space (like a pantry or basement) to finish drying. If they’re already partially dry, they’ll complete the process in 1–2 more days. For extra protection, cover them with a breathable cloth (like cheesecloth) to shield from moisture.
Can I dry any type of pepper in the sun?
Most peppers work well, but some are better suited than others:
- Best choices: Jalapeños, serranos, bell peppers, cayenne, and poblano (thick flesh holds up well).
- Avoid thin-skinned peppers like banana peppers—they dry too fast and may shrivel into dust.
- Remove stems and seeds first to prevent mold or pests.
How do I store sun-dried peppers to prevent bugs or mold?
Once fully dry, store peppers in airtight containers (glass jars or vacuum-sealed bags) with a silica gel packet or bay leaf to deter pests. Keep them in a cool, dark place (like a pantry) where they’ll last 6–12 months. If you notice any dampness or odd smells, toss them—they’ve gone bad!
Wrapping up and next steps
Drying peppers in the sun is a rewarding way to preserve their vibrant flavors and extend their shelf life—plus, it’s simple, cost-effective, and eco-friendly! 🌞 Whether you’re prepping for winter cooking or stocking up on spicy staples, mastering this method ensures you’ll always have bold, homemade peppers ready to elevate your dishes.
Now that you’re equipped with the right techniques and tips, why not try drying a batch today? Experiment with different varieties, share your creations with friends, or even gift homemade dried peppers—your taste buds (and pantry) will thank you!