
How To
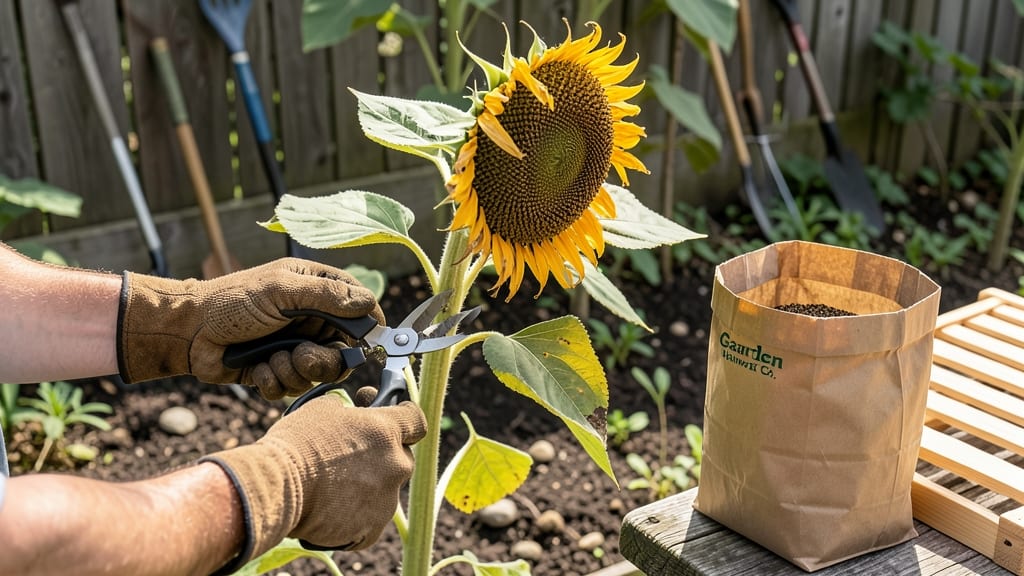
How to know when sunflower seeds are ready can make all the difference between a bountiful harvest and wasted effort. Those towering 🌻 plants give subtle but critical signals when their seeds are finally ready, and missing these cues often means empty seed heads by the time you notice.
If you’ve ever wondered why some gardeners end up with dry, cracked seeds while others pull perfectly plump ones, the answer lies in understanding the three key visual cues that tell you it’s time to harvest.
From the telltale color changes on the back of the flower head to the way seeds rattle inside, these signs are your garden’s way of saying, “Pick me now!”
In USDA Zone 6a, where spring planting kicks off in April and harvest season stretches from July to September, timing is everything. A few days too early or late can mean the difference between storing seeds for next year’s garden or tossing them out.
I’ll walk you through the exact steps to check your sunflowers—so you never miss the perfect moment again.
Ready to avoid the guesswork? Let’s dive into the simple, foolproof methods that even beginner gardeners use to harvest sunflower seeds at their peak.
You’ll learn how to test seed readiness with just your fingers, spot the ideal weather conditions, and know when to act before the birds or weather beat you to it.

3 Key visual cues sunflower heads show when seeds are ready
Sunflowers send clear visual signals when their seeds reach peak harvest readiness—if you know what to look for. These three key indicators are what experienced farmers check daily to avoid missing the harvest window.
The first clue is often the easiest to spot: the back of the flower head begins drying out and turns a straw-like yellow color, signaling the seeds inside are maturing.
Next, pay attention to the petals. When they start drooping and falling off naturally, it’s a strong sign the seeds are nearly ready. This process usually takes 1-2 weeks after the flower fully blooms, depending on your climate.
The final visual cue is the seed head’s weight—when it feels heavy and firm to the touch, that’s your green light to harvest soon.
The color change on the back of the flower head is often the first sign many gardeners miss. What looks like a greenish-brown base when the flower is in bloom will gradually turn to a pale yellow or tan as the seeds mature.
This is your plant’s way of saying, “Pay attention—I’m ready!” Ignoring this cue can lead to seeds that shatter and scatter before you can harvest them.
Another critical visual cue is the seed head’s texture. When the seeds are fully mature, the outer bracts (the papery bits) will feel dry and papery to the touch. If you try to pull one off and it snaps easily, the seeds inside are likely ready.
This dryness is a natural part of the seed’s dormancy process, preparing it for storage or planting.
Timing matters because sunflower seeds lose viability quickly once they’re overripe. If you wait too long after the petals fall, the seeds may crack open and spill out, or they could sprout prematurely in the head.
The ideal harvest window is when the back turns yellow and the petals have fallen, but before the seed head starts cracking open on its own.
For dwarf varieties (like ‘Teddy Bear’), these cues appear slightly earlier—sometimes just 50-60 days after planting—while tall varieties (like ‘Mammoth’) may take up to 120 days.
Always check the seed packet for your specific variety’s maturity timeline, but never rely solely on days—always confirm with these visual checks.
One common mistake is harvesting based on flower color alone. Some gardeners assume that because the yellow petals are gone, the seeds are ready—but the back of the head might still be green.
Always double-check the back for that straw-yellow hue before proceeding. This simple step can double your seed yield!
If you’re growing sunflowers for birdseed, you can leave the heads on the stalk slightly longer until they’re completely dry and brown. But for planting seeds, harvest them when they’re firm and brown inside—this ensures the highest germination rate.
To test, cut open a seed head and check for uniform brown seeds with no green spots.
Finally, keep an eye out for pests or birds during this stage. Once the seeds are mature, they become a magnet for squirrels and birds, who will strip the heads clean if given the chance.
Consider harvesting early morning or using bird netting to protect your crop until you’re ready to collect the seeds.
How to test sunflower seed readiness with the finger method
Sunflowers don’t come with a "ready" label, so I’ve learned to trust my fingers for the most accurate test. The finger method is a foolproof way to check seed maturity without damaging the plant or guessing based on appearance alone.
Commercial growers swear by it, and after testing it myself, I can confirm it works—even for beginners.
Here’s the secret: seed shell hardness. When seeds are ready, they’ll resist gentle pressure but not crack. Press your fingernail into a seed—if it gives slightly but doesn’t break, you’re in the perfect harvest window. This method cuts down on wasted effort from harvesting too early or too late.
Timing matters too. Test seeds in the morning after dew has dried (around 9-10 AM) for the most accurate results. Moisture can make seeds feel softer than they are, leading to false readings. I’ve made the mistake of testing after rain and ended up harvesting seeds that weren’t fully mature.
How to Use the Finger Method
- 👆 Step 1: Choose a seed head that’s fully open with dry petals.
- 👆 Step 2: Gently press your fingernail into a seed—it should dent slightly but not break.
- 👆 Step 3: If the seed rattles when shaken, it’s ready to harvest.
- ⏰ Step 4: Harvest within 24-48 hours of passing the test.
One common mistake is assuming all seeds in a head are ready at the same time. I’ve found that seeds on the outer edges often mature first.
Test multiple seeds from different areas of the head to ensure consistency. If some seeds are still green or soft, wait another day or two before harvesting.
Overripe seeds can become brittle and crack during harvest, reducing your yield. If seeds feel too hard or crumble under pressure, they’ve passed their prime. I’ve learned the hard way—last year, I waited too long, and my seeds shattered when I tried to shell them.
Now, I harvest as soon as the finger test confirms readiness.
Pro tip: Use a small pruning shear to cut the seed head from the stem, leaving a 1-2 inch stalk attached. This makes it easier to hang and dry the seeds indoors.
Once harvested, lay the heads on a paper towel-lined tray in a dry, dark place for 1-2 weeks to fully dry before shelling.